
Table of contents
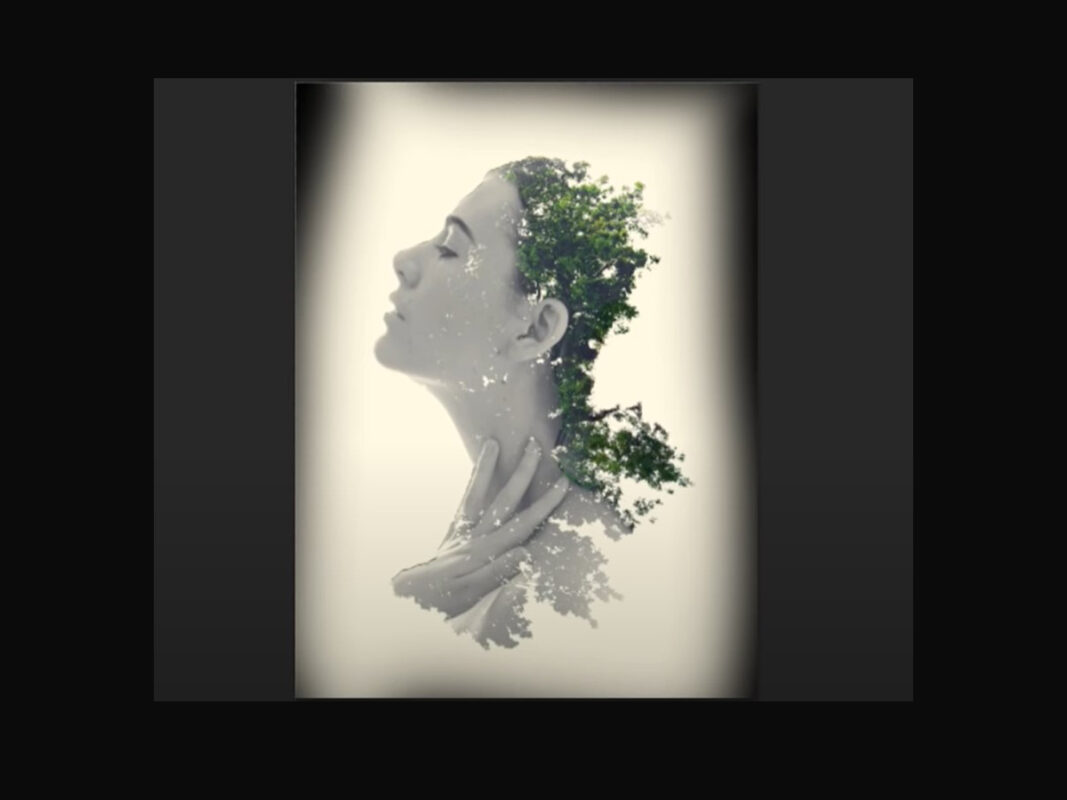
You’ve seen the stimulating effect of overlapping images on the covers of music albums, in current magazines, and ads. In this double exposure effect in Photoshop tutorial, we’ll generate a fashionable double exposure effect from scrape. We’ll use Blending options and Clipping Masks in a few steps. But first, let’s know what a double exposure effect is.
What Is the Double Exposure effect?
In cinematography and photography, double or multiple exposures combine two or more contacts to make a single image. Initially, this is a method in which the camera shutter is unlocked, usually for diverse photos. However, with up-to-date software, we can effortlessly generate a similar double exposure effect in Photoshop.
Actionable Tips to Create a Double Exposure
- Pick fascinating images
When selecting stock, determine how you can one image will add to the other. Find thrilling viewpoints, play with symbolism, and focus on every image, delivering the best compliment. Combine the two photos inventively, and use more than one photo.
- Trial with exposure.
There are no magic contact settings when you can learn how to create a double exposure effect in Photoshop. Every image will need dissimilar changes to both illumination and contrast. Use Brightness/Contrast, Curves, and Levels to fine-tune the acquaintance of pictures. The general rule is, if you want an area of a portrayal to show, make it cheerful. If you want the overlapping image to show, keep that area darkest
- Experiment with layer options
Double exposure effect in Photoshop tutorials will often propose using Screen. Though lightning can also be used to have significant effects and make new and thrilling results.
Let’s start at the beginning
This blog will discuss how to transform any regular photo into a double exposure using Photoshop. So, let’s get started.
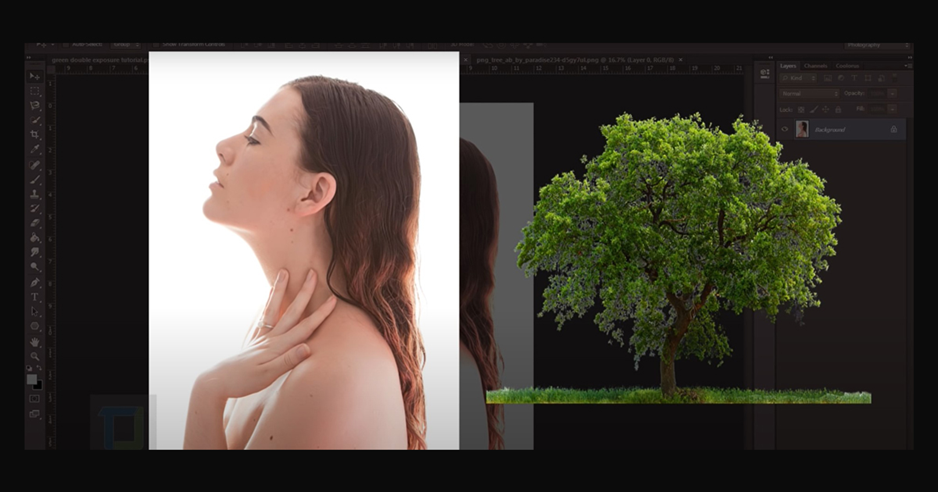
Step 1
To create this effect, I will use the two images I found. As you guys can see, my pictures are already open inside Photoshop. And if you want, you can go to File and Open any image you want.
Step 2
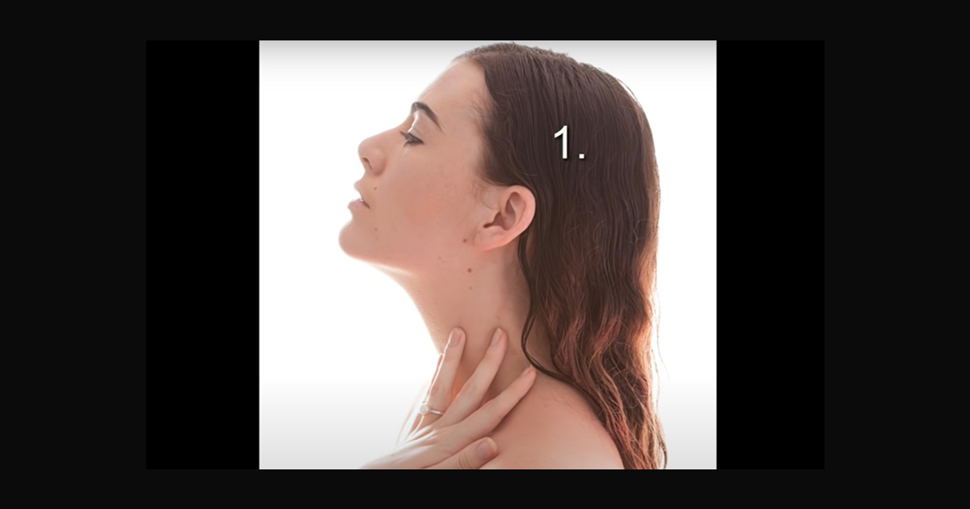
Now a few essential tips for people doing this effect for the first time. Number one, try using a redhead or blackhead. You can still make blondes in double exposure, but they’re just a little challenging to try images with a white background because it will make it much easier for you to select. Number three and most essential is drowsing images that look sideways; you can create images that look front ways. But sideways photos are just a little bit easier. And they will help you understand the effect even better.
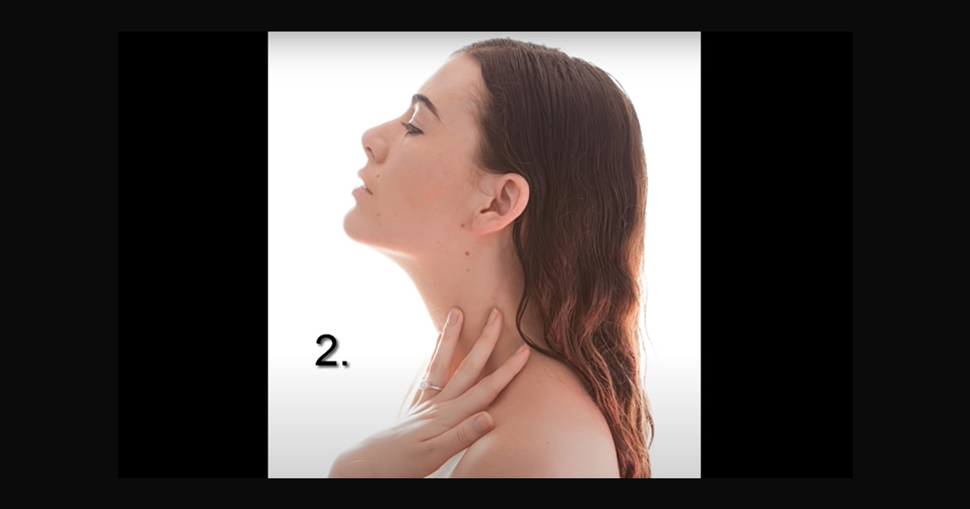
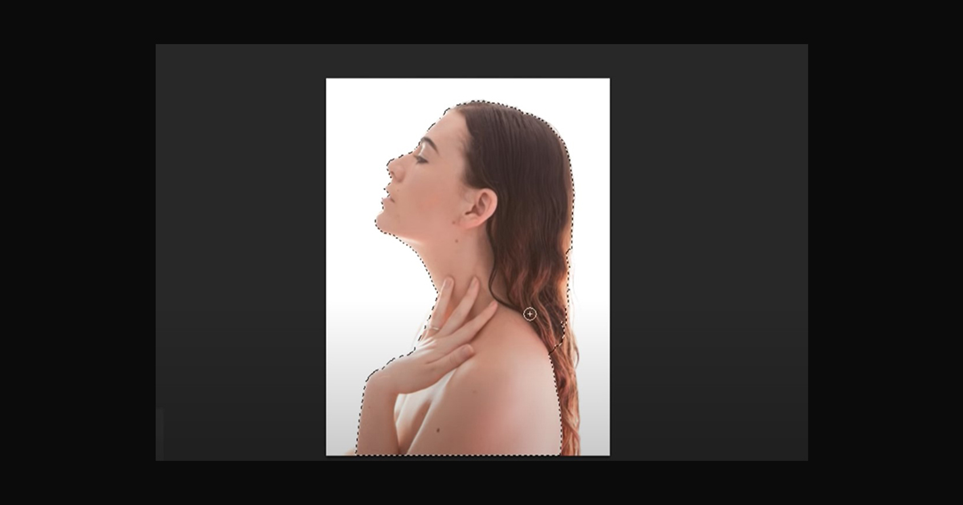
Step 3
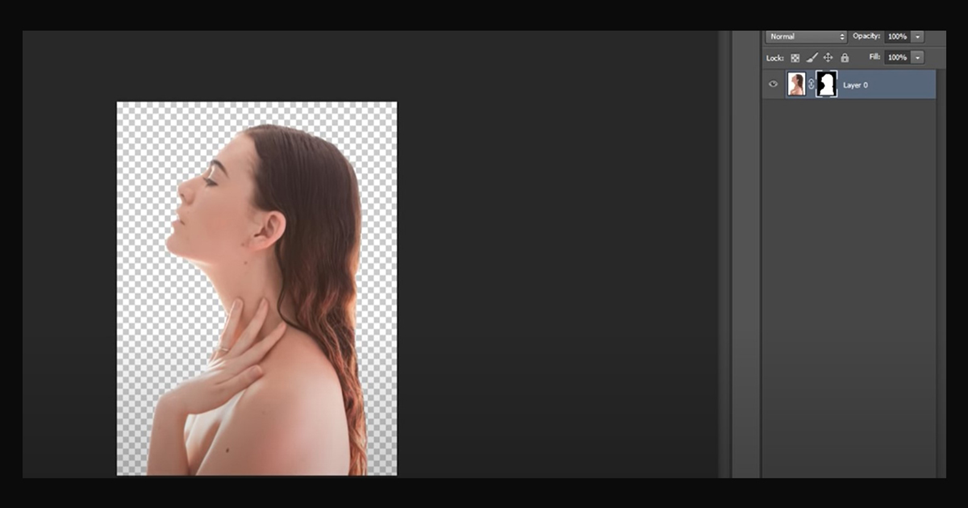
As you guys can see, my images are already open inside Photoshop. And if you want, you can go to File and Open any image you want. Now, first of all, we need to cut her from the background. So go and select a quick selection tool and make a selection around her. And since it’s a white background, it should be effortless to make a selection.

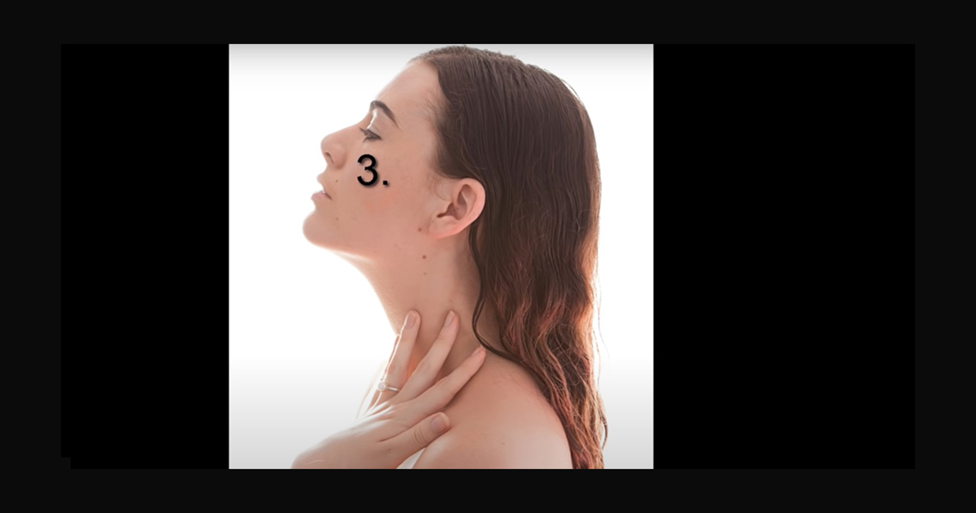
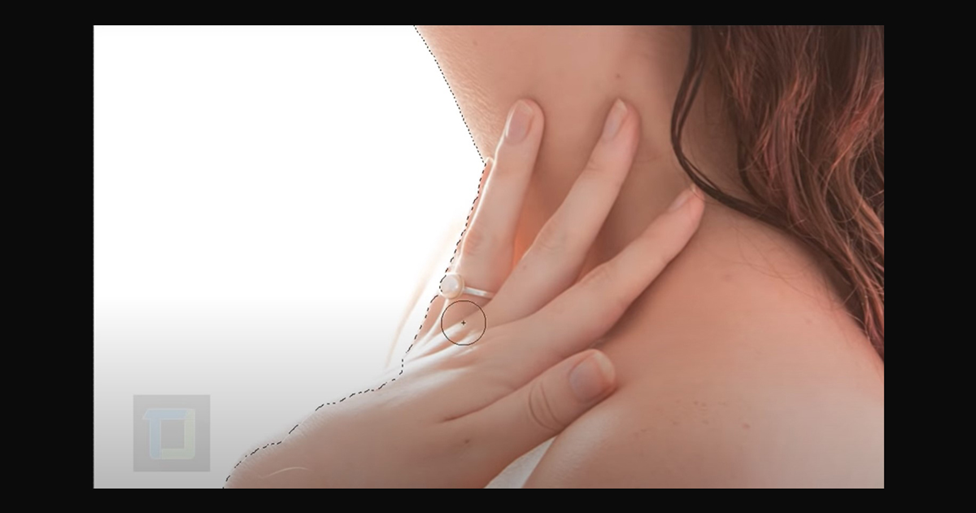
Step 4
And while making a selection. Select the hand if you’re using the same image of this part. And that seems okay.
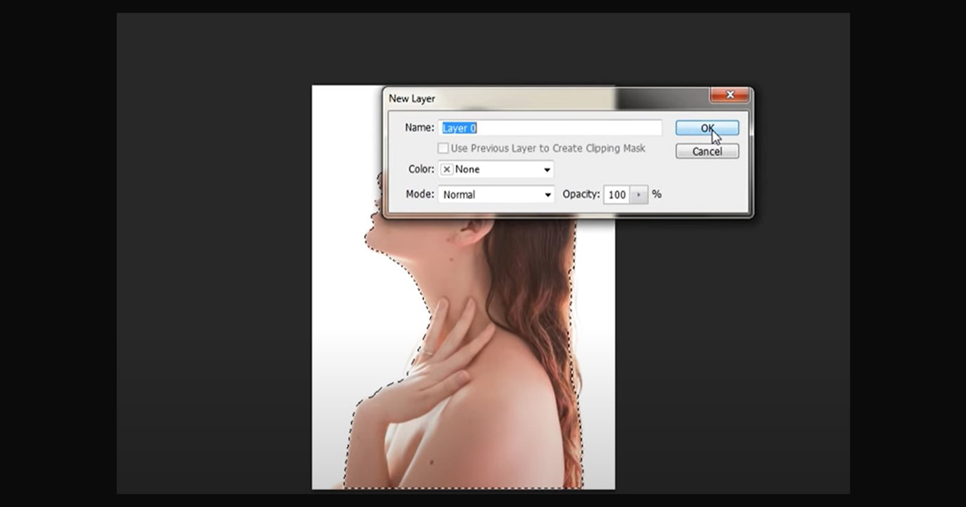
Step 5
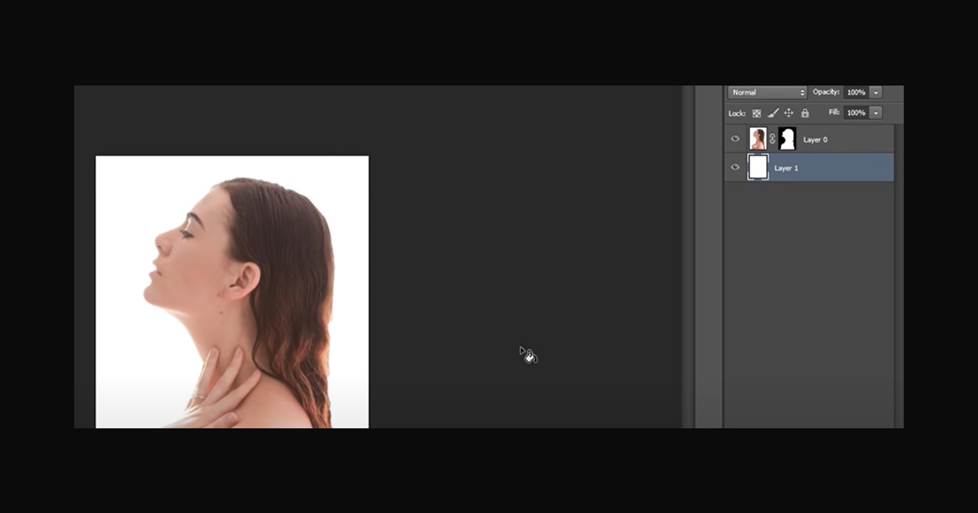
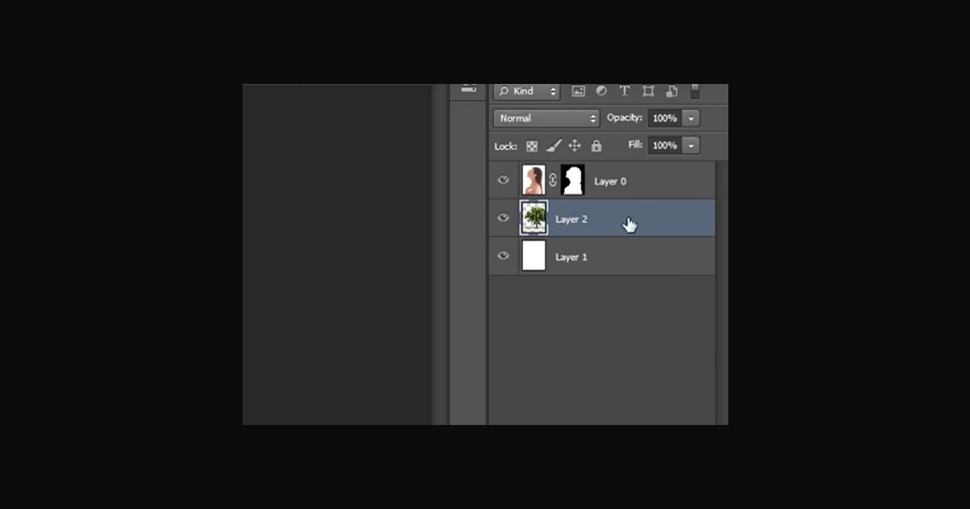
Now double-click on your layer and unlock it. Then click on this little mask icon, which will apply a layer mask. Now create a new layer and put this under it. And let’s fill in the white color. So go and select your Paint Bucket tool and fill in the white color.

Step 6
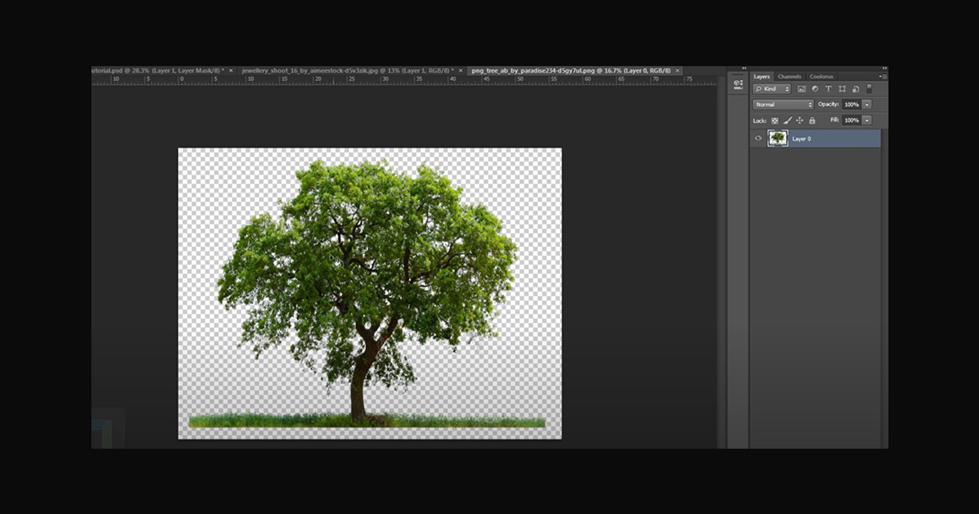
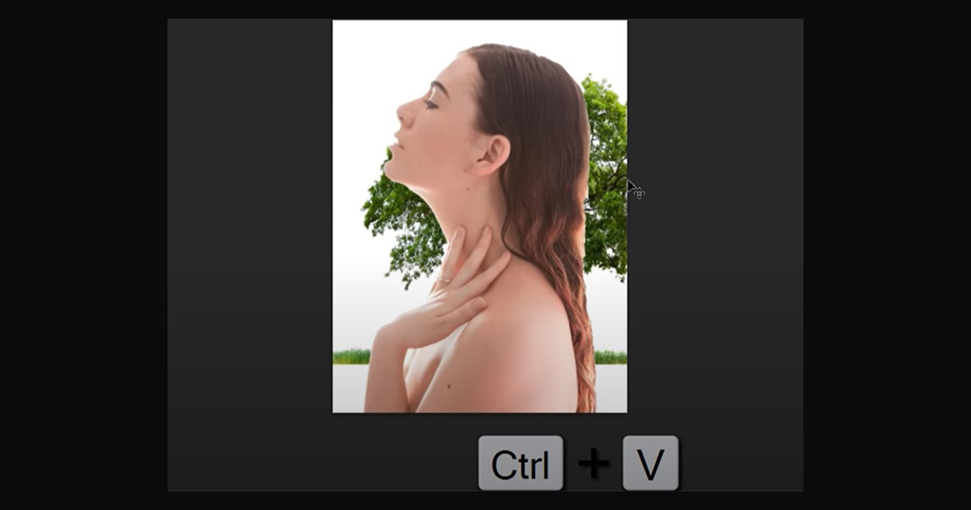
Once the basic layout is ready, let’s go and add the tree. So, this is the tree I found
Let’s come here and paste it. I am using a PNG file, so I don’t have to cut it from the background. I’m going to press Ctrl-A, then Ctrl-C. So that seems fine to me.
Step 7
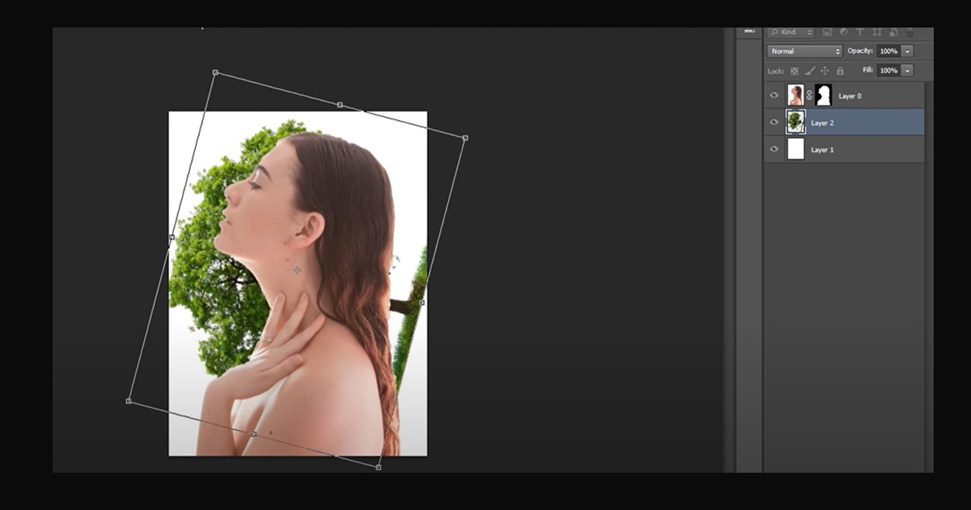
And since we already got her from the background, once you put the tree under it, you can see something like this. Or then let’s press Control D and make the tree something like this because I want her loose on her head. So that seems okay. Hit enter and then on to the woman. Let’s make her a bit smaller and in the center like that. And let’s put something like this, and that seems better. And since we already got her from the background, once you put the tree under it, you can see something like this. Or then let’s press Control D and make the tree something like this because I want her loose on her head. So that seems okay. Hit enter and then on to the woman. Let’s make her a bit smaller and in the center like that. And let’s put something like this, and that seems better.
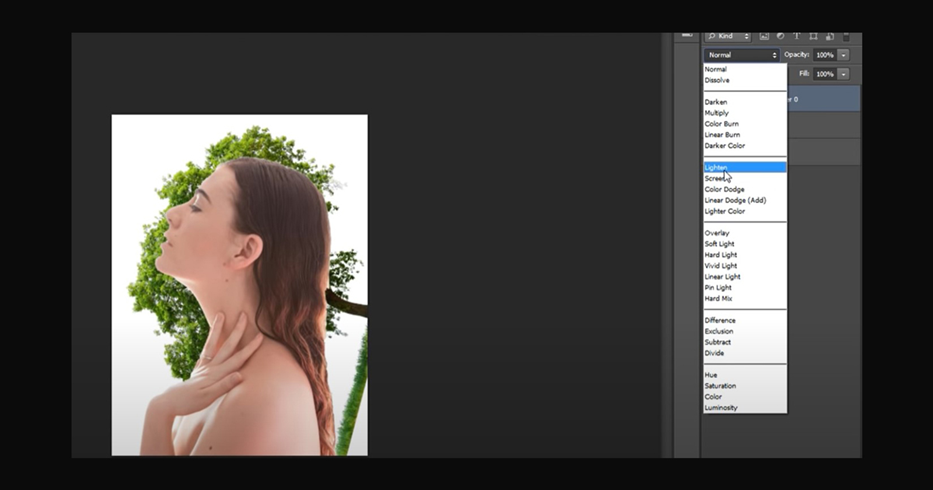
Step 8
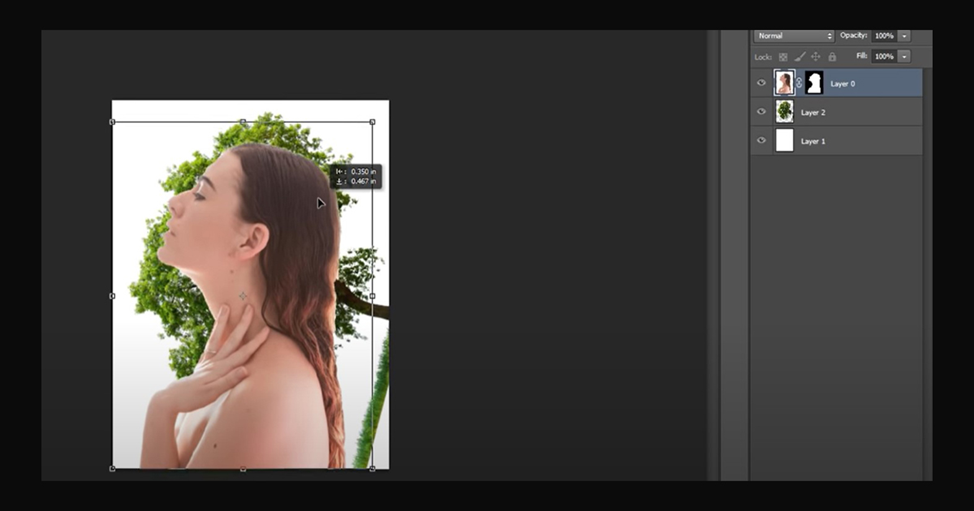
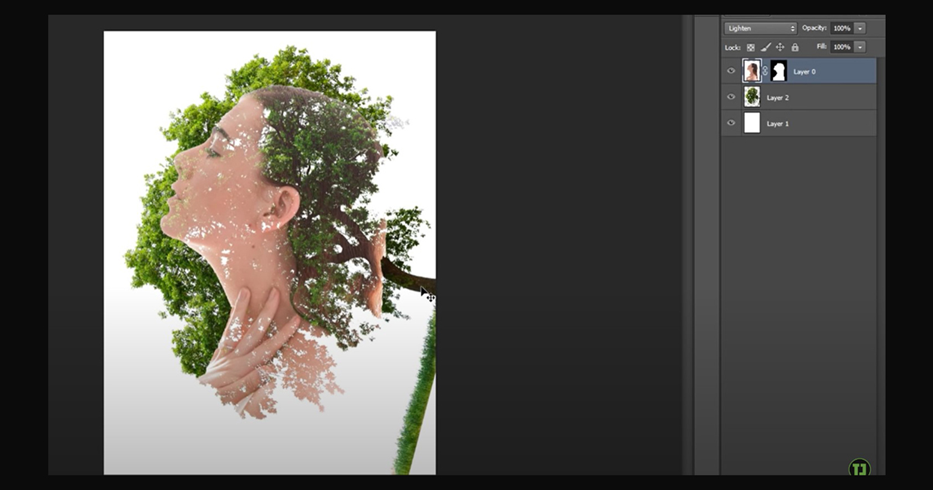
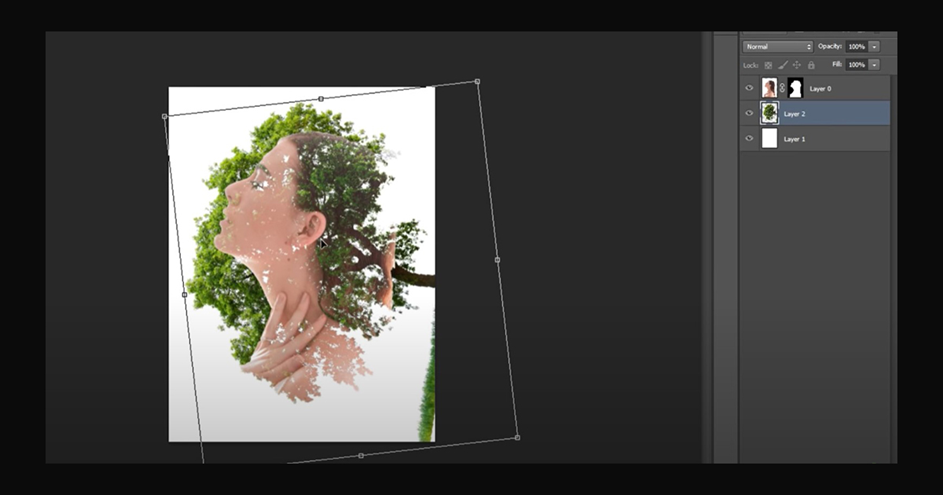
Once everything is ready, select your layer zero this model layer and change its blending mode to the light. And now you can see the basic idea of double exposure. Now you have to adjust the tree. Select your tree, press Ctrl T, and start changing it until it looks satisfying to use, so that looks acceptable to me. And that seems reasonable—hit enter.
Step 9
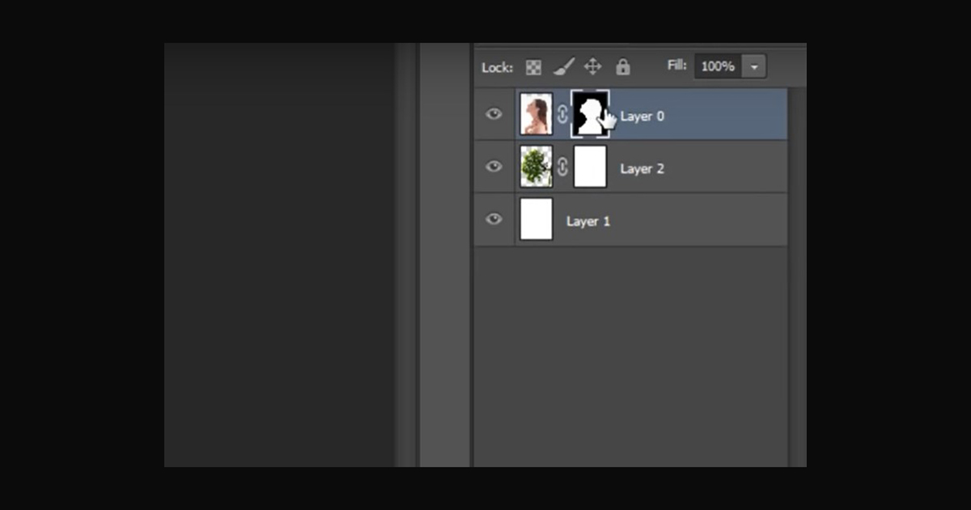
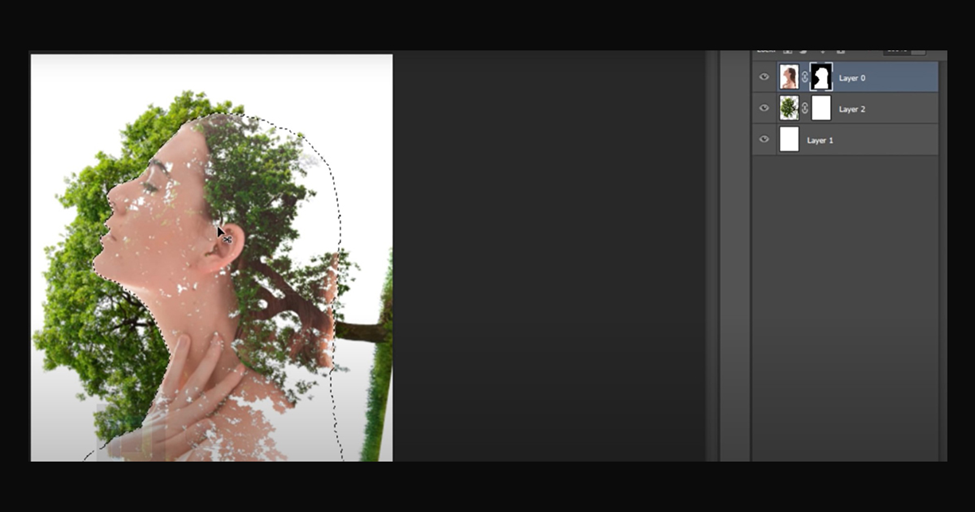
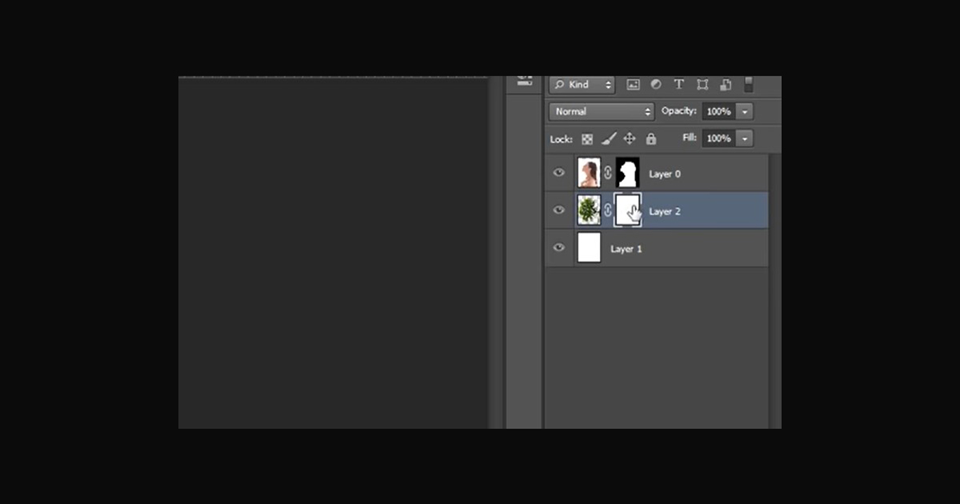
Now we need to remove the tree from this area. So, stay with me. First, we need to apply a layer mask on the tree. So go here and use the cover. Select this mask from the girl and Ctrl-Click on it to load the selection.
Step 10
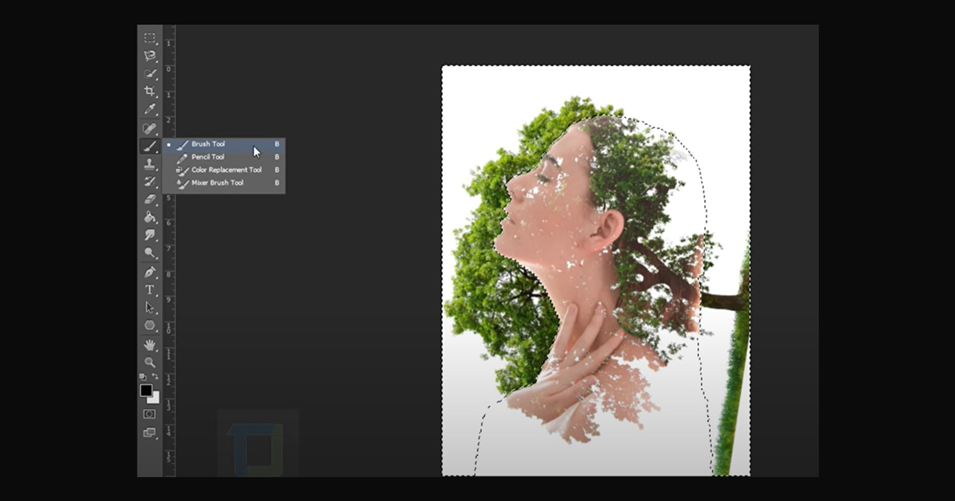
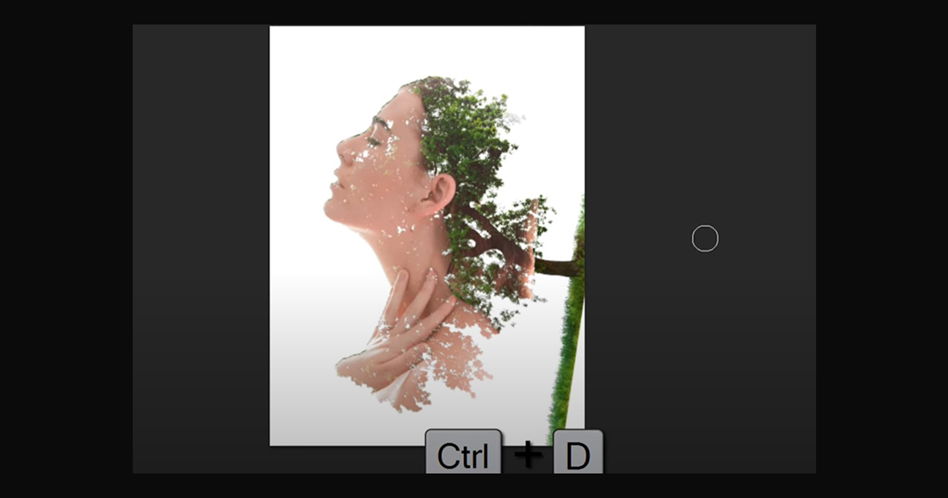
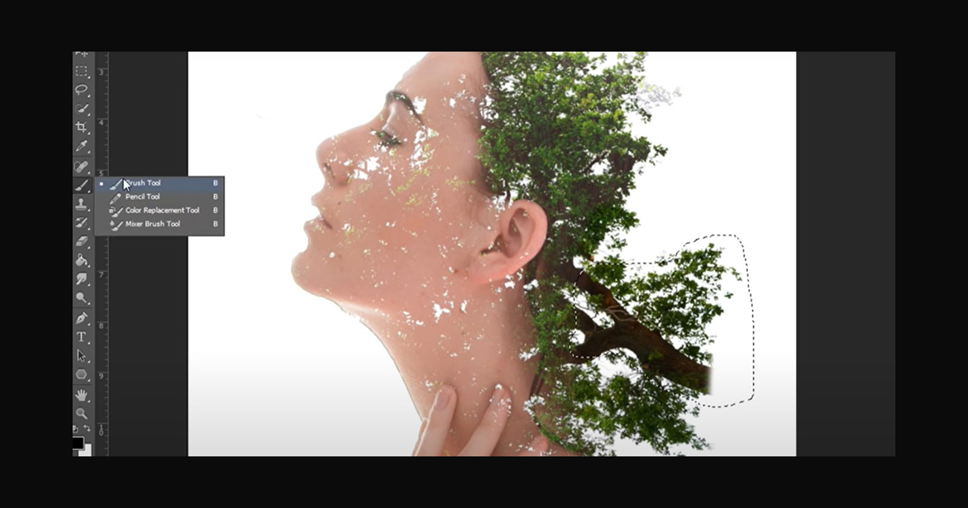
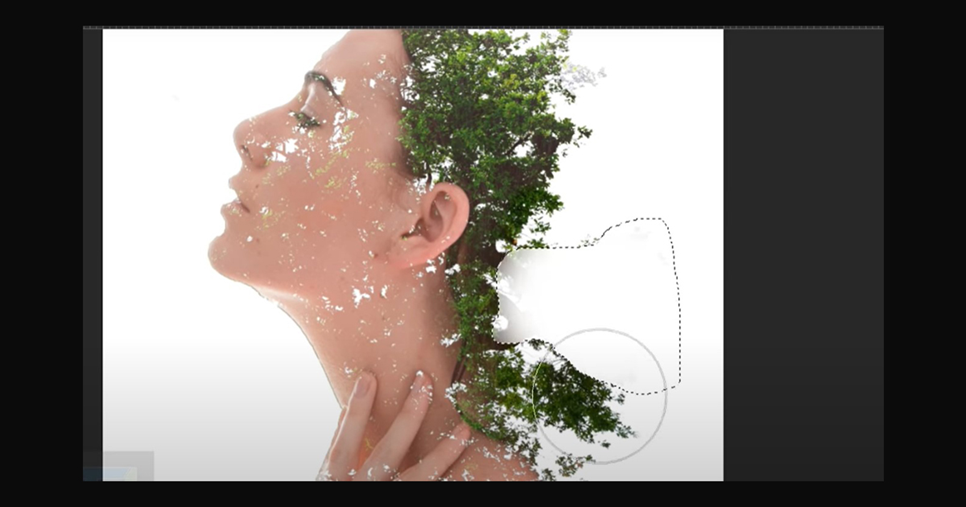
Now we need to invert it because we need to remove the outside. So go to Select and inverse it. Where is it inverted? Now go and select the tree mask. Grab your Brush Tool and paint with like colors; it will remove the tree that is outside. So if you remove it, it will also go away, but we did not read that one. We need to extract only this area. So let’s remove that and a few things here and there. And once you think the basic idea is ready, press Ctrl D. So that looks great. Now we also need to remove this thing so you can remove it even without selection.
Step 11
I hope you understood what I did with that, and if not, ask me in the comment or rewatch this thing. It will help a lot. So now we also need to remove this bit of hair. So now, this time, select her and paint with black color so we can get rid of the hair. So that seems okay. And that is great. You can paint back a couple of things. If that seems fine to you, right? Click, and let’s make it 0% hard, so it doesn’t look over here.

Step 12
Okay, that seems fine. Now, make sure you have selected a mask after selection and go and paint with black color, so we get rid of that. And that is good. Now press Ctrl D to remove the piece. It doesn’t look beautiful, but I will.
Step 13
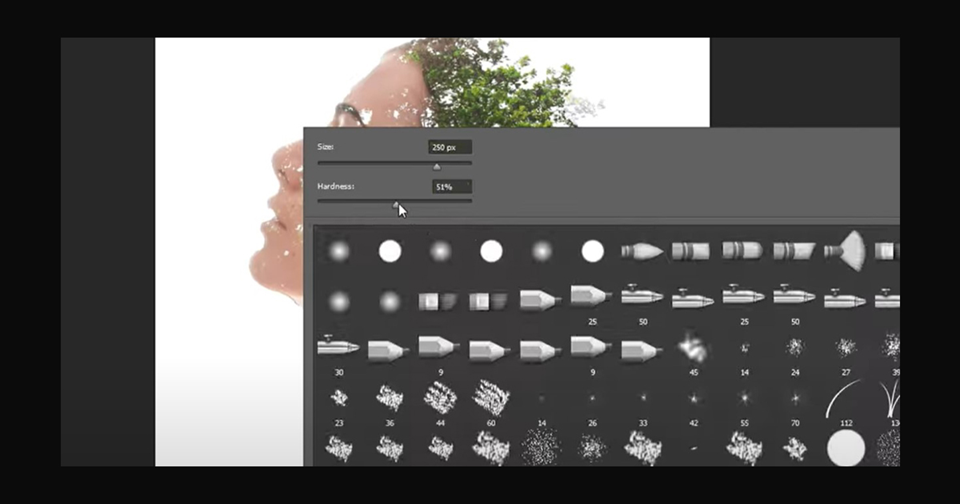
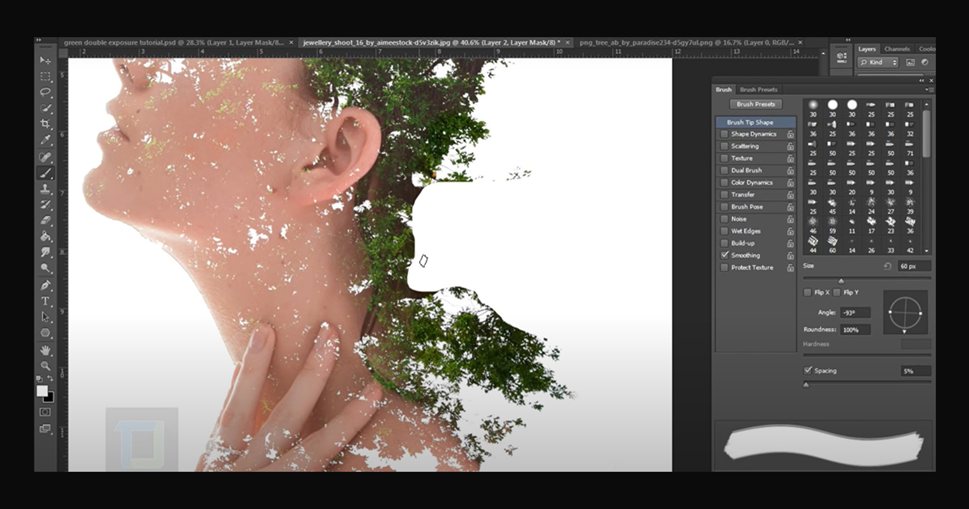
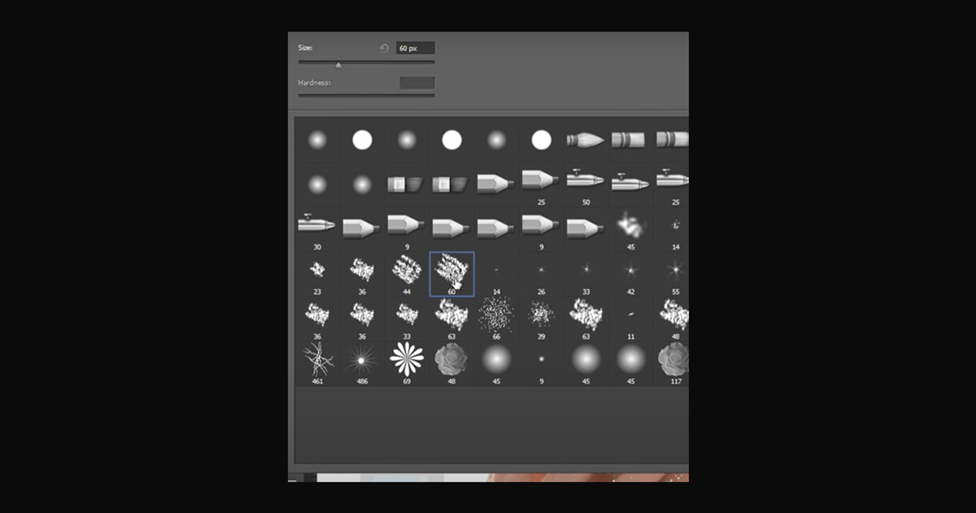
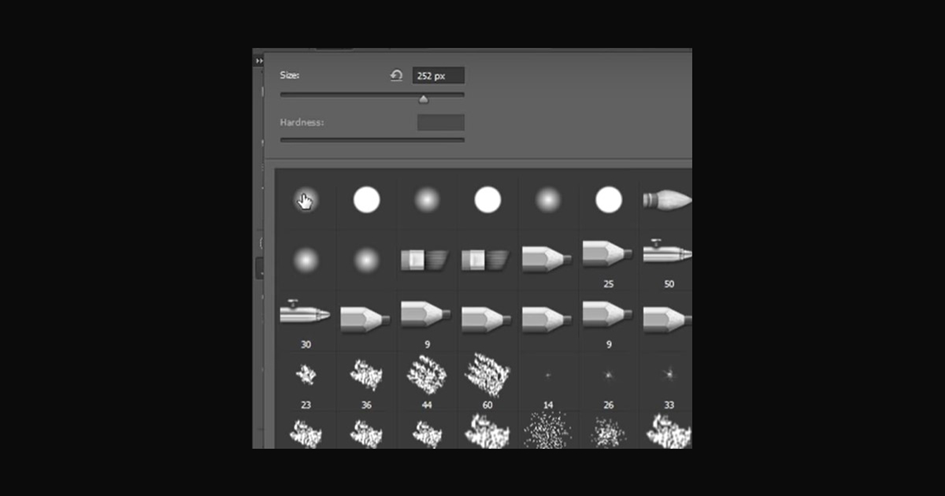
So, in the brush, select this weird brush we always have here. And next, you have to do is start painting with it. And instead of black paint with white colors, it will reveal the area. Click on this little icon here, so it will help you to rotate it. So that seems okay. And let’s make it bigger using the Bracket key; you can also do it manually and start making a few things like this.
Step 14
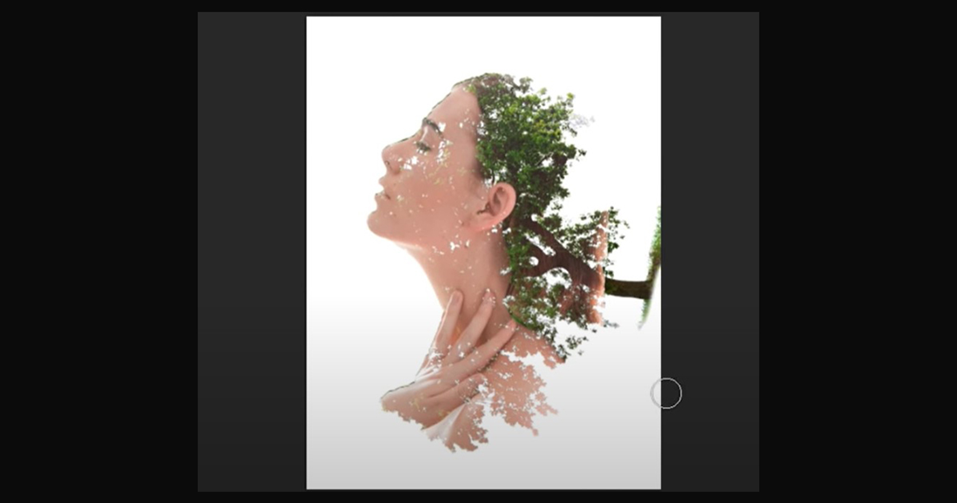
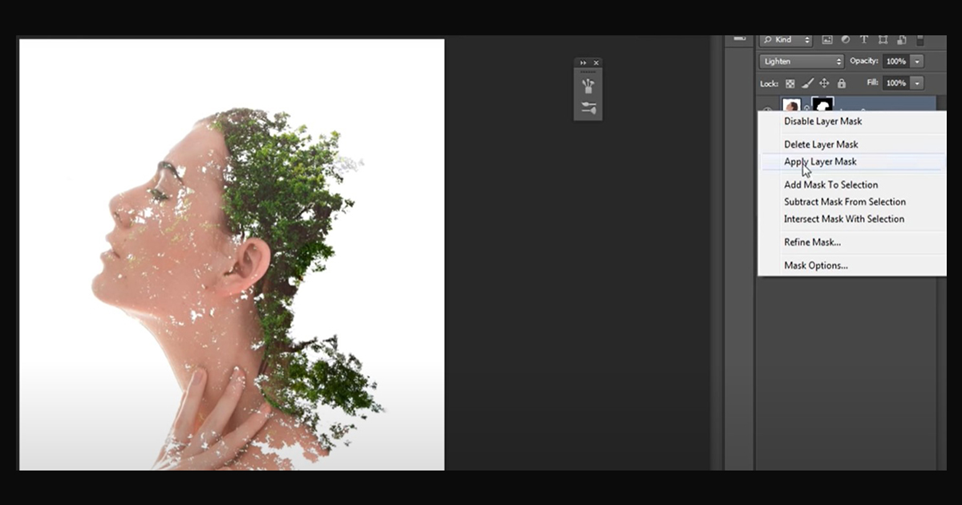
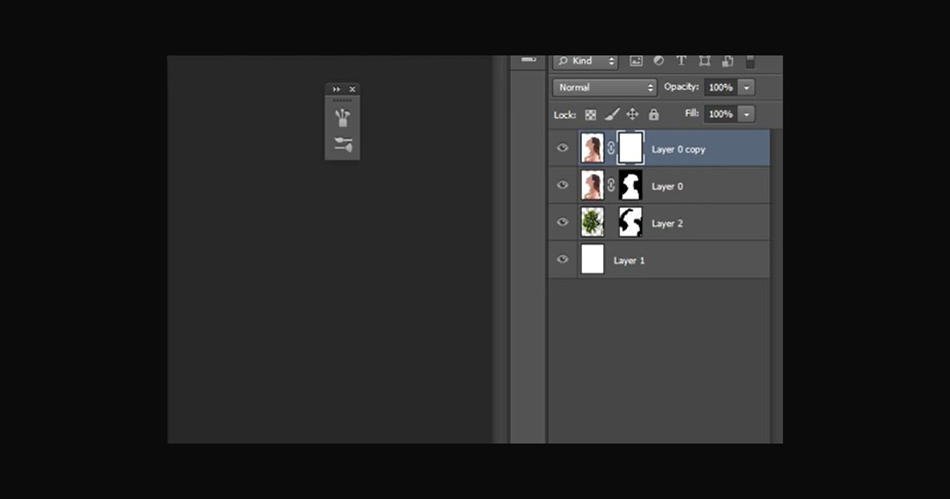
So now, if I zoom out, you can see the kind of effect is ready. Now, if I zoom in, you can see a couple of things missing from her face. And if you want to bring those back, it is straightforward. You must duplicate this layer, right-click and delete Layer Mask, and then put it on normal mode. So, as you can see, the image is there. If I turn it off, you can see now apply a layer mask again and then fill in the black color. So, everything is hidden, so you have a blank.
Step 15
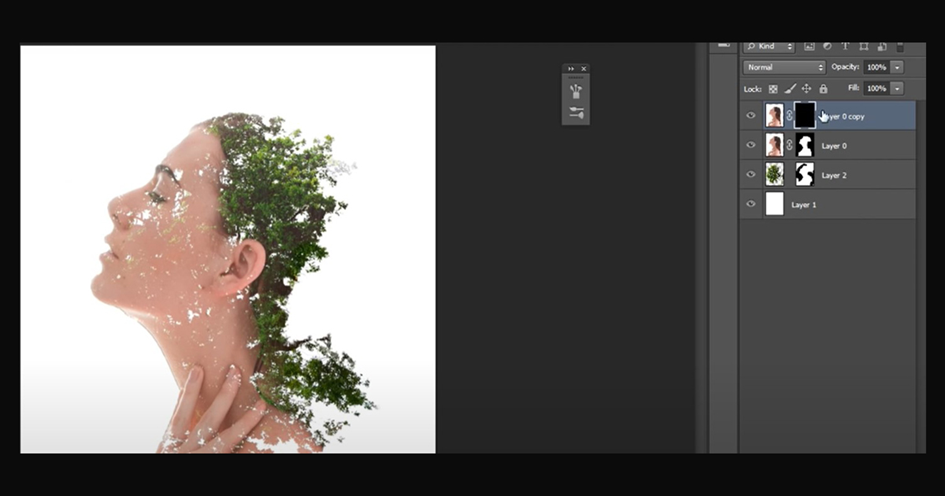
So, you have an everyday layer with a black mask, so everything is hidden. Now go and select a brush tool. And this time, a regular brush and go and start painting here with white color. So it will make everything back. So, I’m going to show you what we are doing. So if I turn it to off, you can see we are just painting back that regular face on top of these effects. If I turn it on and off, you can see the difference.
Step 16
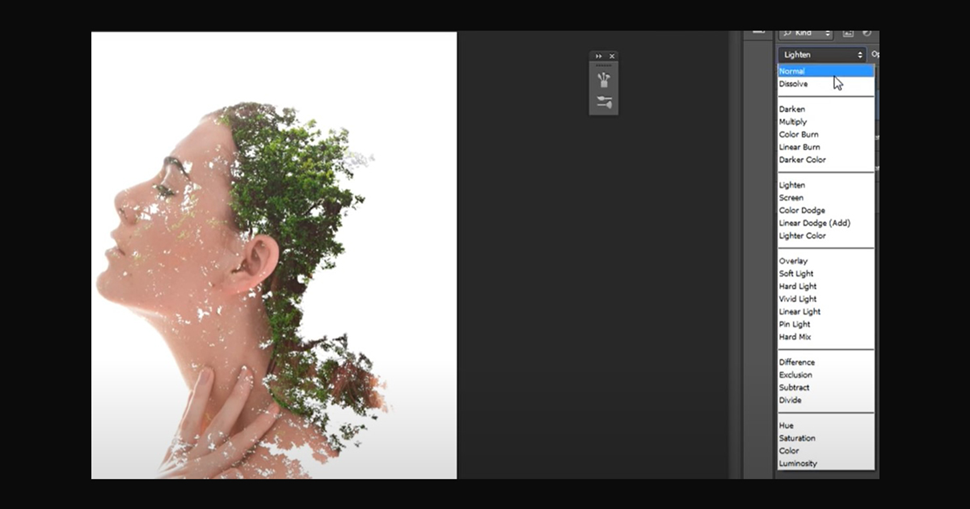
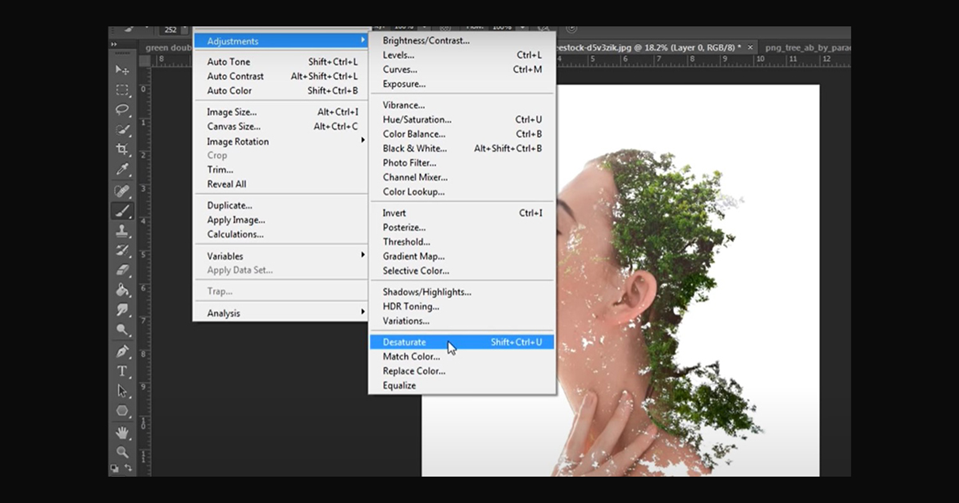
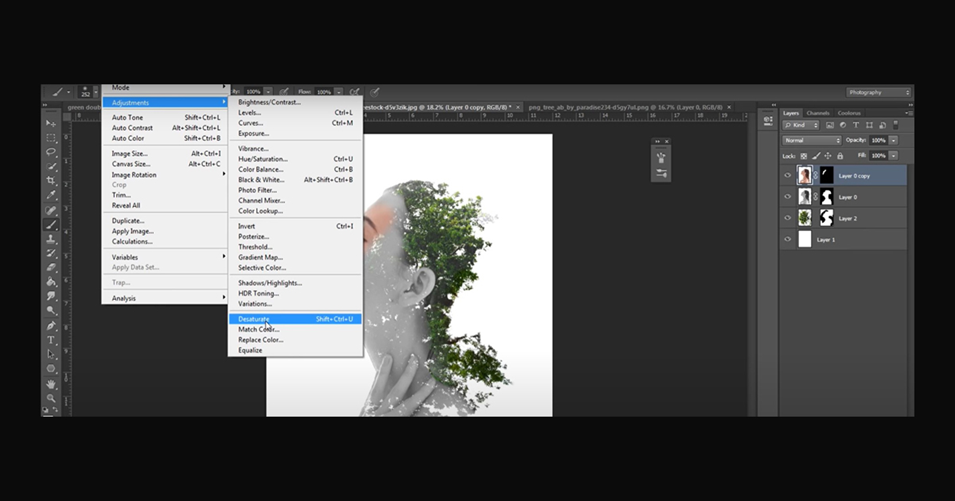
Now once you think everything is okay and it seems fine, all you have to do is select your layer from here, go to Image Adjustment and turn it to desaturate. Then do the same with this top image: go to Image Adjustment and go and desaturate, and your vision is ready. So where is it here?
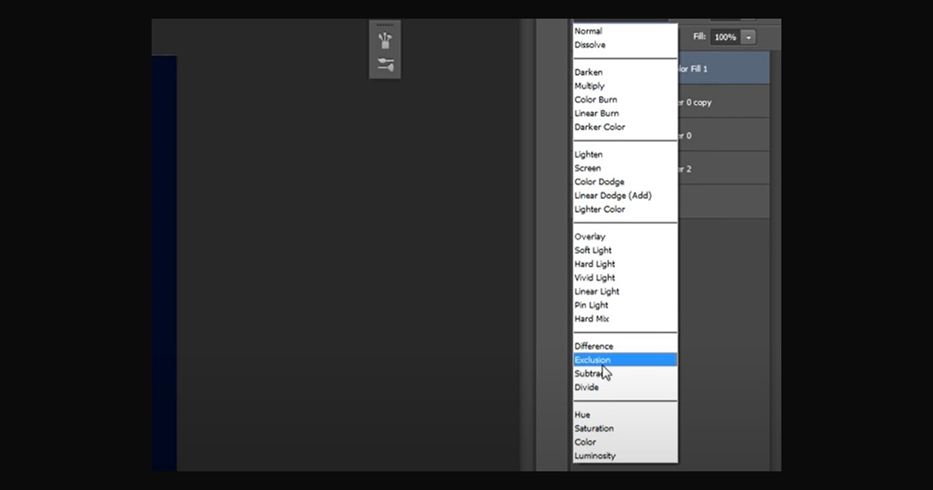
Step 17
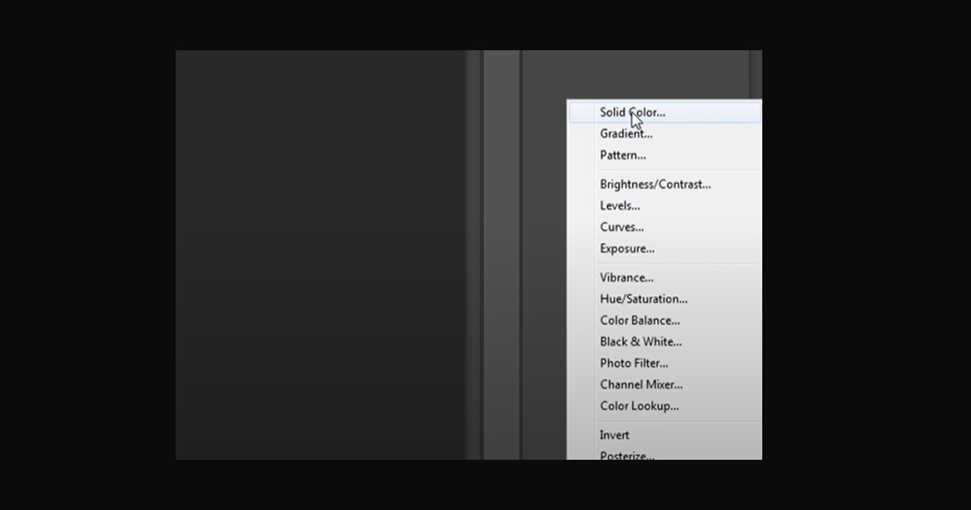
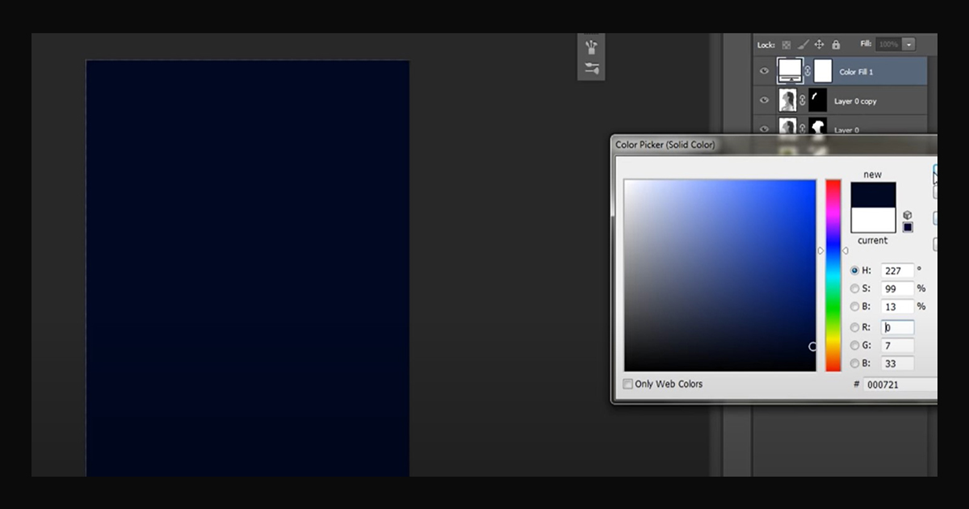
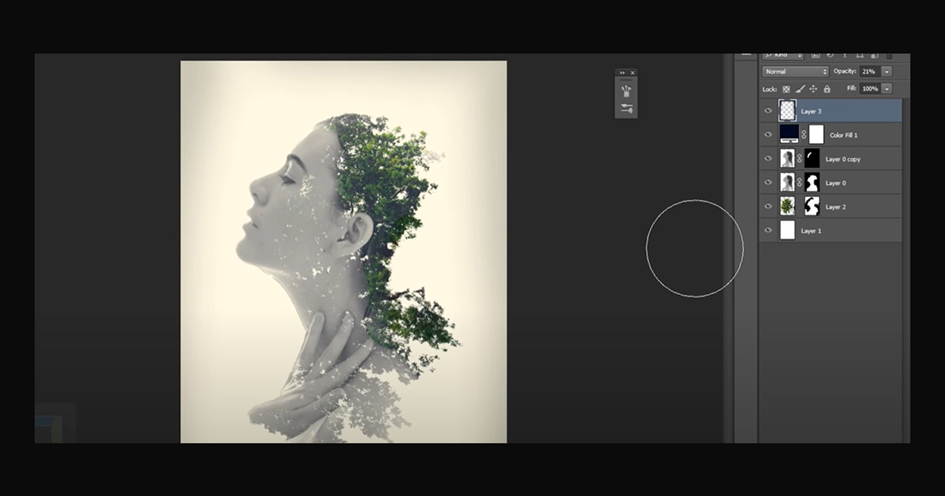
And for some touches, you can do one thing, create a new adjustment layer and select a solid and select bluish color. Any dark blue color will do that. And then change the blending mode to exclusion and turn down opacity something so if I turn it on and off, you can see it gives that overall feeling and the vignetting.
Step 18
So, there are many ways to create a vignette. So, create a new blank layer. Select your brush with black color, make it big like that. And then paint on the side with something like this, which doesn’t have to be accurate. And then something like this touches here and attach there. And then, make the Opacity zero and start building it up a little until it seems fine. So, if I turn it on and off, you can see that difference, and it looks perfect.
Final words:
There are a diversity of systems and tools that graphic designers can use to generate a double exposure effect in Photoshop. One general method is to use Adobe Photoshop. Designers usually use layer mask tools to apply an exposure effect. By selecting the layer mask tool, designers can paint on the layer mask to reveal or hide parts of the image. This permits them to control how much of each print is unprotected, giving them a significant contract of the controller over the final output of the picture.
Another process that can be used to create a double exposure effect in photoshop images is blending modes. Blending modes permit two images to be combined in different ways. Each blending mode will result in a diverse final image, so it’s significant to research with changed options to determine which one gives you the desired effect.