
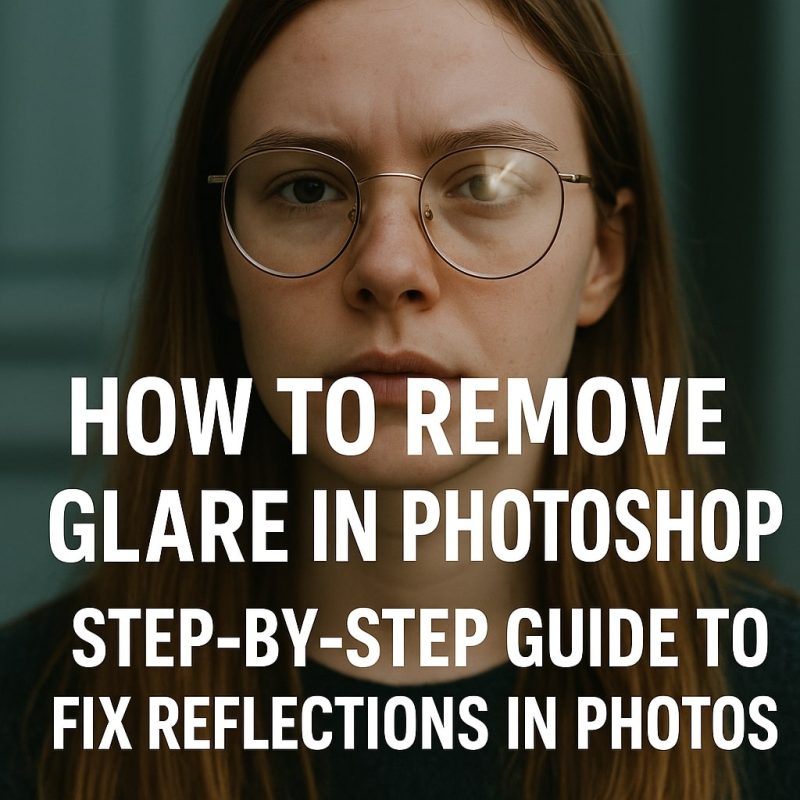
Glare in photos can make images appear washed out or overly bright. It usually occurs due to harsh lighting, reflective surfaces, or lens flare. Fortunately, Adobe Photoshop offers several powerful tools to remove glare from photos and restore natural tones with ease.
This guide shows how you can remove glare in Photoshop using simple techniques suitable for both beginners and professionals.
Tools You Will Need
Before you start editing, make sure you have:
- Adobe Photoshop CC or later
- A photo containing glare or reflections
- Clone Stamp Tool
- Healing Brush Tool
- Basic understanding of Photoshop layers and adjustments
Step 1: Open Your Image in Photoshop
- Launch Adobe Photoshop.
- Go to File > Open and select your photo.
- Confirm that the image displays the glare or reflection you want to fix.
Opening your image properly ensures a smooth editing process.
Step 2: Remove Glare Using the Clone Stamp Tool
The Clone Stamp Tool helps you replace glare with nearby natural areas.
- Select the Clone Stamp Tool from the toolbar.
- Adjust brush size and softness to match the glare area.
- Hold Alt (Option on Mac) and click on a clean, glare-free area to sample it.
- Carefully brush over the glare.
This technique helps you fix reflections in pictures while maintaining realistic textures.
Step 3: Blend Using the Healing Brush Tool
After cloning, use the Healing Brush Tool for seamless blending.
- Select the Healing Brush Tool from the toolbar.
- Hold Alt (Option on Mac) and sample a glare-free spot.
- Gently brush over the bright or reflective areas.
Photoshop automatically blends tones and textures, leaving your photo smooth and natural.
Step 4: Adjust Brightness and Contrast
To ensure your image looks balanced:
- Go to the Layers panel.
- Click on New Adjustment Layer → Brightness/Contrast.
- Adjust sliders slightly until the repaired areas match the rest of the image.
This step helps enhance photo clarity and restore a consistent tone across your image.
Step 5: Refine with Layer Masking
If certain parts look too bright or uneven after adjustment:
- Click on the layer mask in your adjustment layer.
- Select a soft black brush.
- Gently paint over areas that need less brightness.
Layer masking gives you control without damaging your original image.
Step 6: Final Touches and Review
Zoom in and review your photo carefully.
- Fix any leftover glare using Clone Stamp or Healing Brush.
- Apply Sharpen or Reduce Noise if necessary.
- Save your final version: File > Save As > JPEG/PNG.
Conclusion: Remove Glare from Photos Like a Pro
With these easy steps, you can effectively remove glare in Photoshop and fix reflections in pictures without losing image quality. Using the Clone Stamp, Healing Brush, and adjustment layers, your photos can look balanced, clear, and professional.
Consistent practice with these tools enhances your photo editing skills and ensures every image looks its best.
💬 FAQs
1. Can I remove glare from eyeglasses in Photoshop?
Yes. The same techniques work for reflections on glasses. Carefully sample nearby glare-free areas and blend gently.
2. What if glare hides key facial features?
Try cloning from nearby similar areas. If details are missing, you can blend elements from another photo for accuracy.
3. Can I remove glare from multiple images at once?
You can use Photoshop actions for batch editing, but manual adjustments produce the most precise results.
4. Do I need advanced Photoshop knowledge?
No. These steps are simple enough for beginners while offering professional-quality results.
5. Is glare removal safe for my original image?
Yes. Using layers and masks ensures non-destructive editing, keeping your original photo intact.