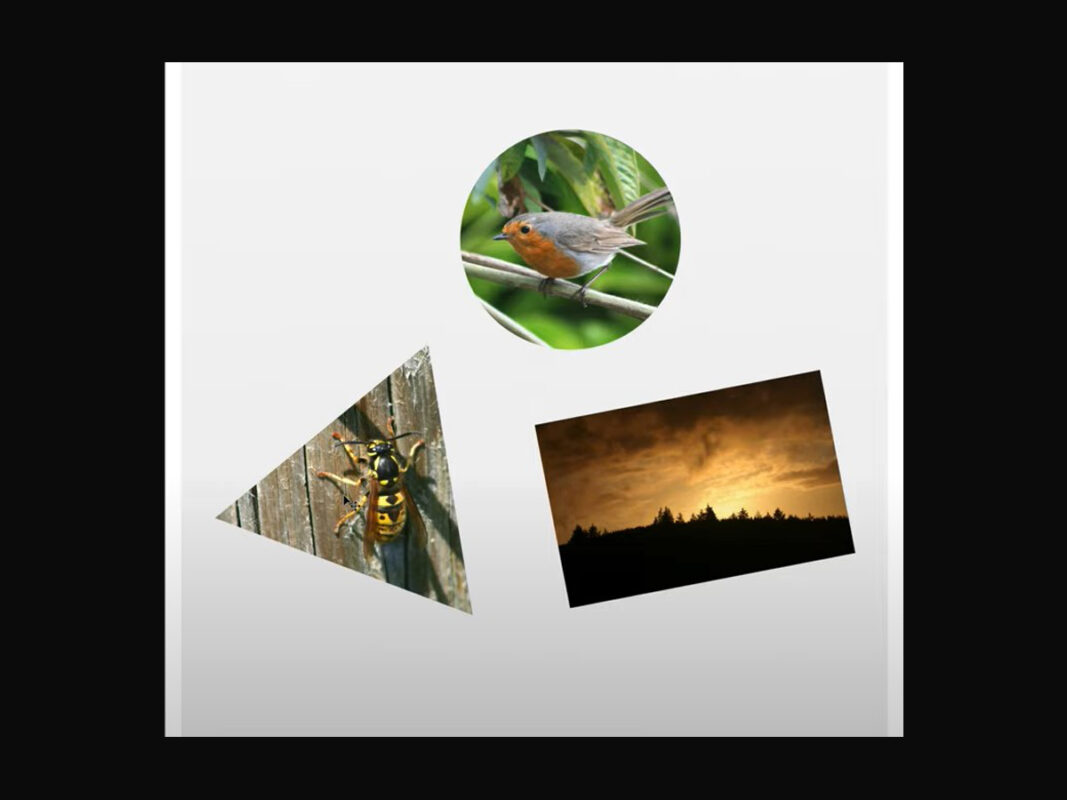
Want to study how to create a collage in Photoshop CC? Here’s a step-by-step guide for introducing and positioning images in the application
Introduction
Photo collage collects multiple photos organized to generate an artistic effect. You can also form a collage to show related images or highlight content over various photos. You can learn these by walking through how to create a collage in Photoshop. This tutorial must be handy if you aren’t conscious of what a photo collage looks like. The tutorial may be long enough but won’t be repetitive. You will like every bit of it. Separate photos detention single moments in time, but appeal a collage, and you’ll be able to demonstrate a whole story. Collaborating in a collage is also great creativity of your composition skills.
There are a lot of collage makers, but Photoshop CC will give you even more control over your editing. It permits you to complete the whole procedure using one app containing any necessary image adjustments.
Photoshop is one of the most usually used apps for this type of collaboration. In this Photoshop tutorial, you can learn how to make a photo grid in photoshop, place them on a single page and border them with colored frames.
Let’s start the tutorial!
So, in Adobe Photoshop, what you’ve done is you’ve prepared a whole load of different images that you want to combine into one document or canvas, whether that’s to create a photo grid or a card that you can use to share all of your memories and send to someone. Or you want to create a photo collage that contains loads of images with similar themes.
As I said, we’re going to cover precisely how to create a collage in photoshop or photo albums, whatever you want to complete in Adobe Photoshop. So, all you’ll need to follow along with the tutorial is just a whole package of images you want to combine into a collage.
Step 1
Feel free to create and style your collage however you want it to look; the designs I’ll be making in the tutorial are not the ones you need to create.
It’s also handy to open a new document; you don’t have to have this background; I’ve just added it because I like it.

Step 2
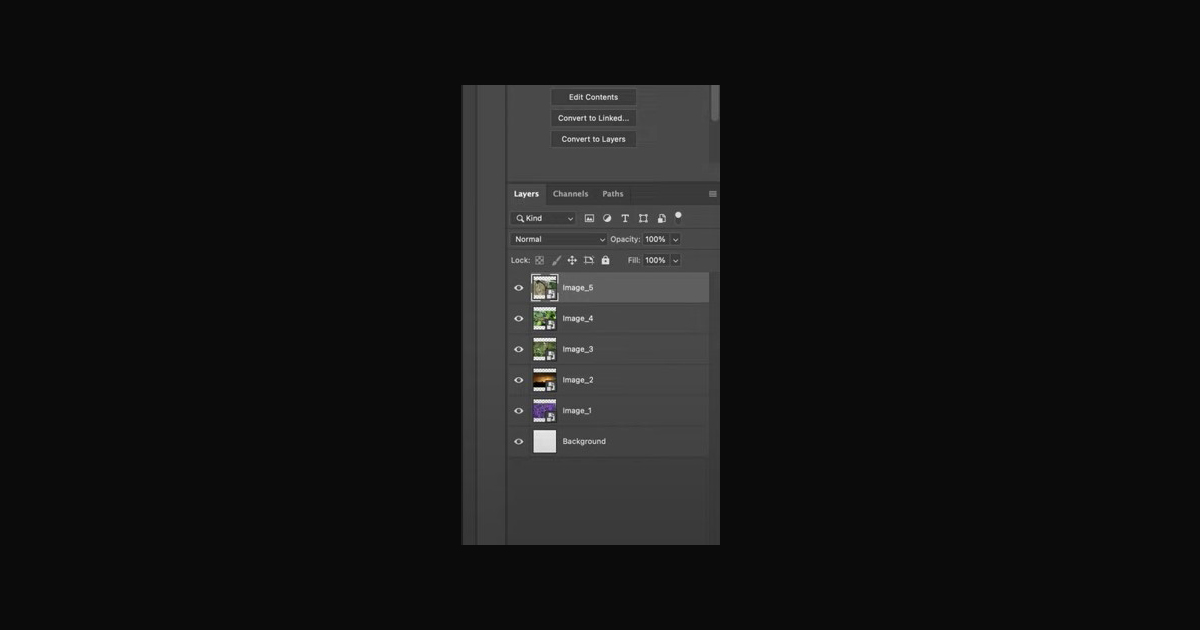
To start, what we need to do is first import all of our images. In Photoshop, you can import all of your images into one project. Each photo will be a separate layer in your project. You need to go to File, Scripts, and then load files into the stack.

Step 3
You must select all the files you want to include; make sure you select multiple files, not just one, because of you. And what I’m going to do is open my file explorer and find all of the images that I want to include.
Step 4
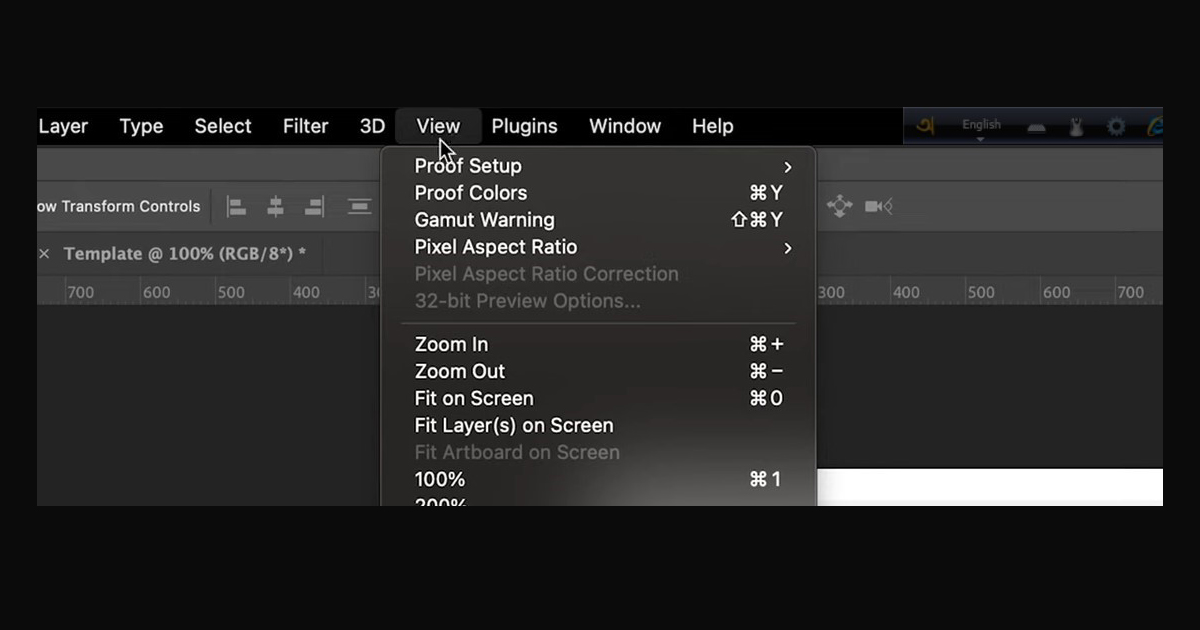
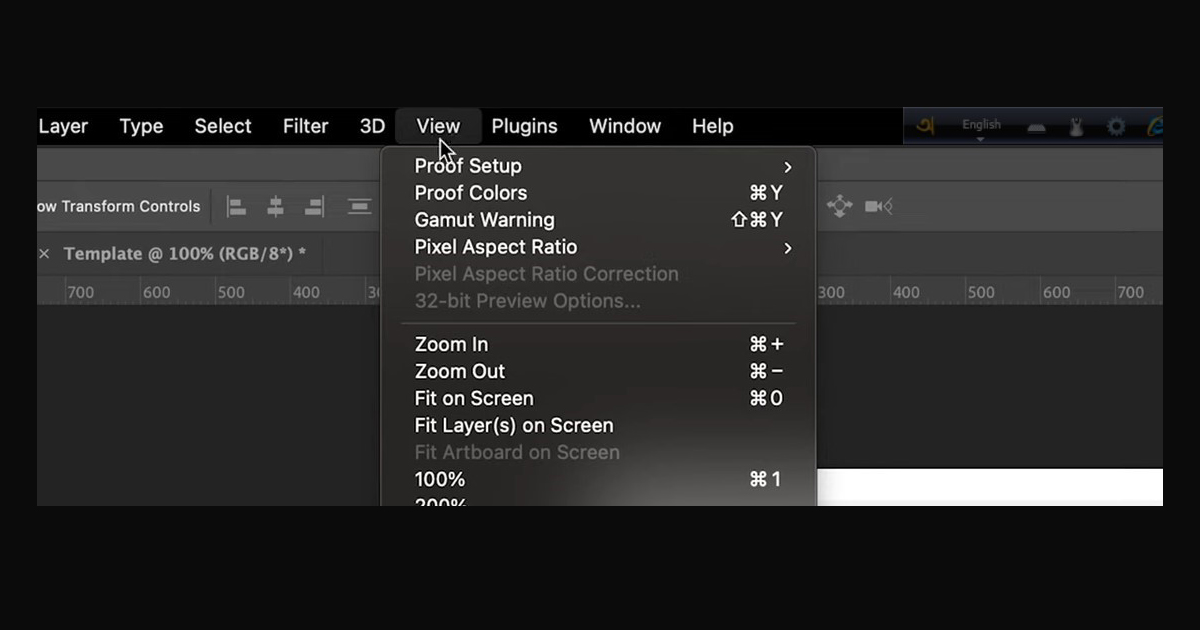
Now, I always like to apply a ruler to my project and create guides. So I can see where all these things will be positioned. So, if you can’t see the rulers in your project, all you have to do is go to View and then tick on rulers; make sure there’s a tick next to that; I’m not going to press it because otherwise, it’s going to get rid of my rulers.
Step 5
I will quickly create four guides on each of the boundaries. And then, I’m going to make one guide in the center. So, as you can see, I’m going to use four different images, one on each of the corners of our canvas.

Step 6
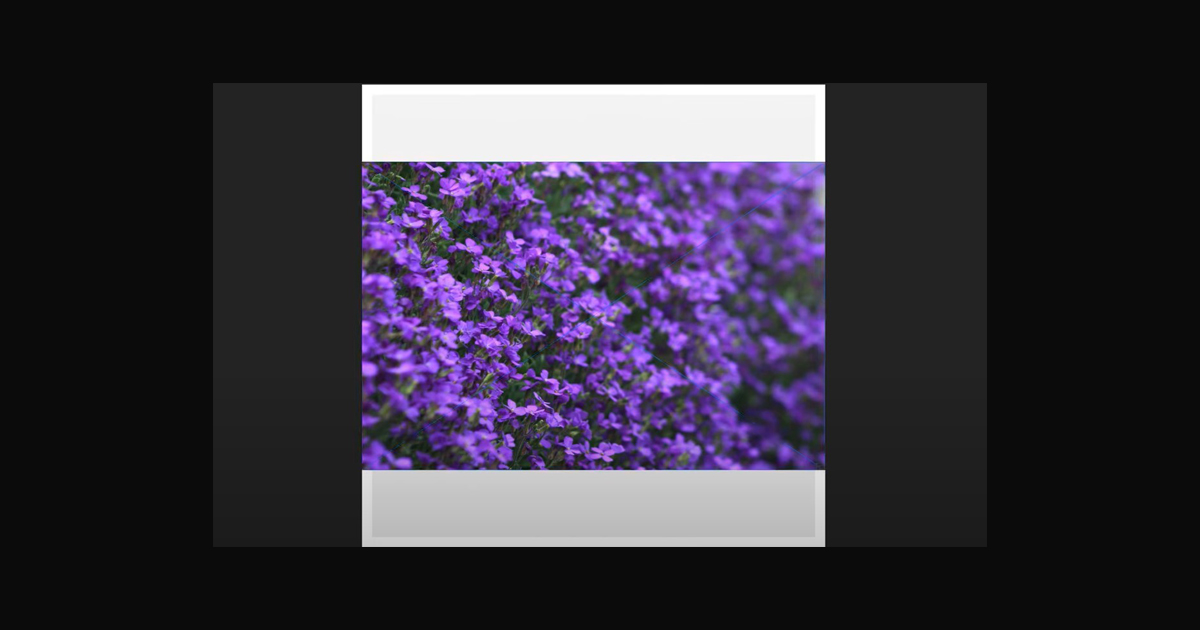
So, I will use the bottom four images to hide this top image. So, I will roughly place each picture in the area I want. So, as you can see, I’m going to put the robin in the top left-hand corner here; I’m going to quickly hide that so I can see the following image and move that one to the top right. Feel free to put the photos wherever you want them.


Step 7
Once again, I’m going to select the following image and maybe place that in the bottom left-hand corner.
And hide that one and then repeat the process with this last one. As you can see, they don’t all fit; they extend the boundaries; I’m not going to worry about that for now; I’m going to unhide all those layers again quickly.


Step 8 So now we have our images in each corner, but everything’s overlapping, and nothing is cut. So, the best way to apply these images to a particular space is by using masks.


Step 9
To do this, we need the Marquee tool, so the Rectangular Marquee Tool is in the top left-hand corner of our toolbar. As you can see, the shortcut to the Marquee tool is m. So I’m just going to select that quickly. And now, because we’ve got guys, it should be friendly and easy to create a selection of just this top left-hand box here.

Step 10 I’m going to focus on this one for now. So, I’m going to quickly go to the top left-hand corner, hold and drag out a selection until it snaps to the center. And now I should have a piece of the top left-hand corner books. And then, I’m going to go to the image that I want to mask in this area.


Step 11
So that’s image four in my Layers panel. And then next, to create the mask, I’m going to go down to the bottom of the Layers panel until we find a white rectangle with a black square in the middle, and press on that once.

Step 12
And now it’s going to create a mask on that layer, which will mask it to that selection. So as you can see, the Robin no longer extends out of its box. So, I can do is repeat that process for the following three images.


Step 13 So, I can create a selection here, make sure it snaps to all of the guides, go to the Create Image on the Layers panel, select it, go to the bottom, and create a new mask. I’ll repeat it for the next two as well. So, the following image to create a show. And then finally, for the last one, I’ll do that here to image one generates a mask. As you can see, our images are masks for those selected areas.

Step 14
So, I will quickly return to the Move Tool by pressing V on my keyboard because I prefer to have it in that state. So, I can move around my images.

Step 15
And one of the immediate things you will notice is that if I want to reposition this Robin within this much space, perhaps I want to rescale it rotated or transfer it in general, when I go to move the image, what you’ll notice is I drag out the entire masked image.

Step 16
So, I’m going to press CTRL + H if you’re on a Windows computer to see what it looks like without the guides; we can always return to the principles by pressing command and H if you want them back and going quickly to make sure they’re undone for now. So now, as you can see, we’ve created our collage. We don’t have our fifth image. But you could also repeat that if you want to include that anywhere else in your canvas.

Step 17
When you are pleased with the design of the correct position of each image layer of your collage, save the document’s PSD file or JPEG format.

CONCLUSION
Once you distinguish how to create a collage in Photoshop, it becomes straightforward, and you can get as artistic as you want. You don’t have to force yourself to simplistic templates or purchase the best subscriptions to amplify your choices. Do you want to try making a collage in Photoshop? Don’t hesitate to ask any queries.
Hopefully, you enjoyed this long tutorial. Have good learning!

