What do you understand by skin retouching
Skin retouching refers to the process of enhancing and improving the appearance of a person’s skin in photographs or digital images. It involves using various techniques and tools to achieve a smoother, more even complexion and to diminish the presence of inadequacies such as blemishes, wrinkles, scars, and other skin flaws.
Skin retouching is commonly performed in photography, especially in fashion, beauty, and portrait photography. It aims to create a flawless look while maintaining a natural and realistic appearance. Retouching can be done manually using software like Adobe Photoshop or different image editing tools or through automated processes using specialized retouching software.
It’s important to note that skin retouching can be controversial, as excessive or unrealistic retouching may contribute to unrealistic beauty standards or promote body image issues. Therefore, balancing enhancing the subject’s appearance and preserving their natural features is crucial.
Why should you do skin retouching in Photoshop?
Skin retouching in Photoshop is commonly performed in various fields, such as photography, fashion, beauty, and advertising. There are several reasons why skin retouching is done:
Enhancing Appearance: Skin retouching helps to enhance a person’s overall appearance by minimizing imperfections and improving skin texture. It allows for the removal of blemishes, acne, scars, wrinkles, and other skin flaws, resulting in a more polished and visually appealing look.
Highlighting Features: By retouching the skin, you can draw attention to the subject’s facial features or specific areas, such as the eyes or lips. It allows you to create a focal point and emphasize the desired aspects of the image.
Creating a Flawless Look: In industries like fashion and beauty, flawless skin is often the desired standard. Skin retouching in Photoshop helps achieve this by smoothing out uneven skin tones, reducing redness, and creating a consistent and even complexion.
Correcting Lighting and Color Issues: Skin can sometimes appear uneven or discolored due to lighting conditions or other factors. Photoshop enables you to fix these issues by regulating the glare, contrast, and color stability of the skin, resulting in a more balanced and natural-looking image.
Improving Skin Texture: Skin retouching allows you to refine and enhance the skin’s texture, making it look smoother and more uniform. It involves techniques like frequency separation, which separates the surface and color of the skin, allowing for targeted adjustments without sacrificing realistic details.
Professional Presentation: In commercial or advertising contexts, skin retouching is often done to present a product, service, or brand in the best possible way. It ensures that the image reflects a high level of skill and consideration of detail, which can impact marketing and advertising efforts.
It’s important to note that while skin retouching can yield aesthetically pleasing results, it should be done in moderation to maintain a natural appearance. Over-editing or excessive retouching can lead to an unrealistic and artificial look, which may not be desirable in all contexts.
Why is it important to keep skin texture in Photoshop?
Keeping skin texture in Photoshop is crucial for several reasons:
Realism and Natural Appearance: Preserving skin texture helps maintain a sense of authenticity and a natural look in the final image. Human skin is not perfectly smooth, and it has natural variations, pores, and fine details that contribute to a person’s unique features. Retaining these details ensures that the image looks authentic and avoids the “plastic” or artificial appearance resulting from excessive smoothing or blurring.
Avoiding Uncanny Valley Effect: The uncanny valley refers to people’s discomfort or unease when presented with humanoid objects or characters that are almost but not quite convincingly human. It can contribute to this effect when skin texture is eliminated or heavily altered. Preserving skin texture helps prevent the image from falling into the uncanny valley by maintaining the natural qualities that make human skin recognizable and relatable.
Personal Identity and Recognition: Our skin texture is part of our identity, and it plays a role in how we recognize and identify others. By preserving skin texture in Photoshop, you retain the subject’s unique features and characteristics. This is particularly important in portrait photography, where capturing the essence of an individual is critical.
Artistic Intent and Style: Sometimes, the skin’s texture can be an intentional and creative choice. Artists and photographers may want to convey a specific mood or style by portraying skin texture. By preserving these details, the intended artistic vision is maintained, allowing for more creative expression and storytelling.
Ethical Considerations: Retouching skin to the point where all texture is eliminated can perpetuate unrealistic beauty standards and contribute to body image issues. By preserving skin texture, we promote a more inclusive and diverse representation of individuals, embracing the uniqueness and natural variations in skin.
Overall, keeping skin texture in Photoshop helps maintain authenticity, realism, and individuality in the final image while also considering ethical considerations and the subject’s preferences.
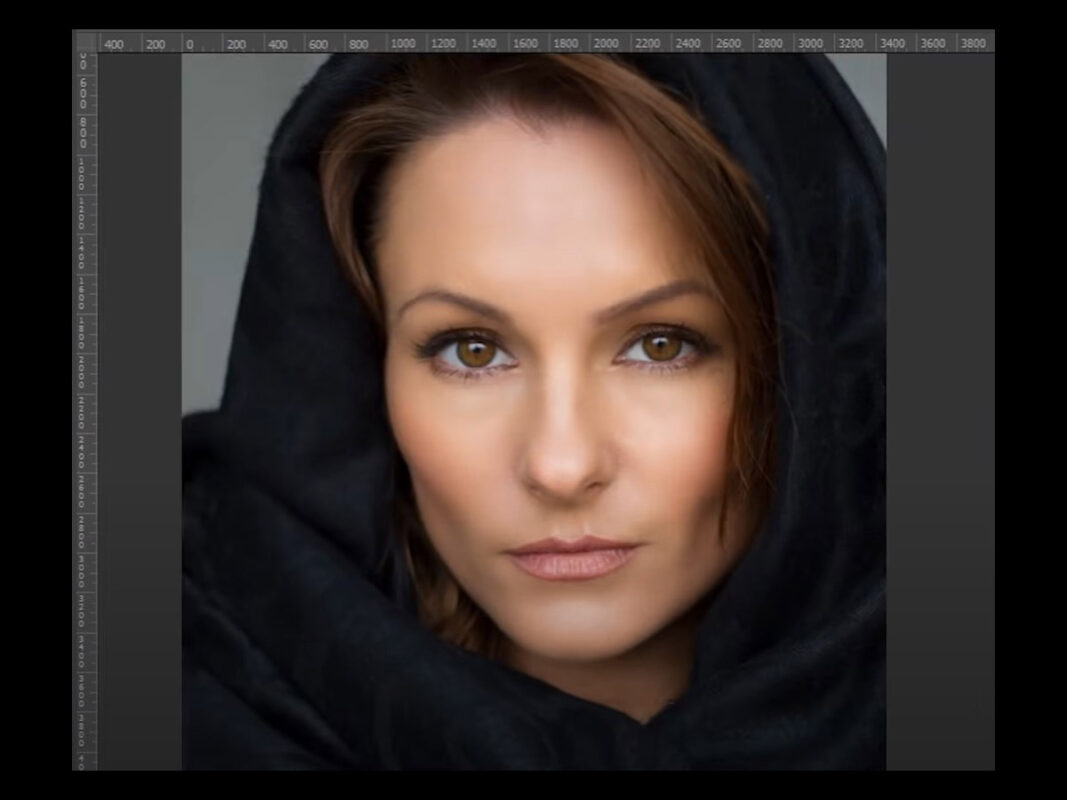
How to Smooth Skin in Photoshop
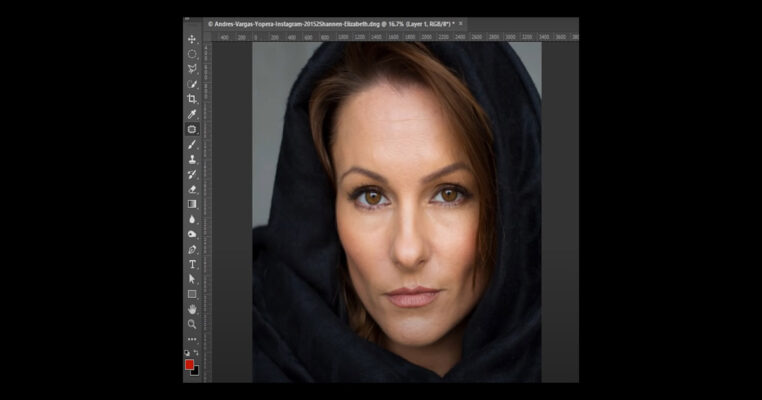
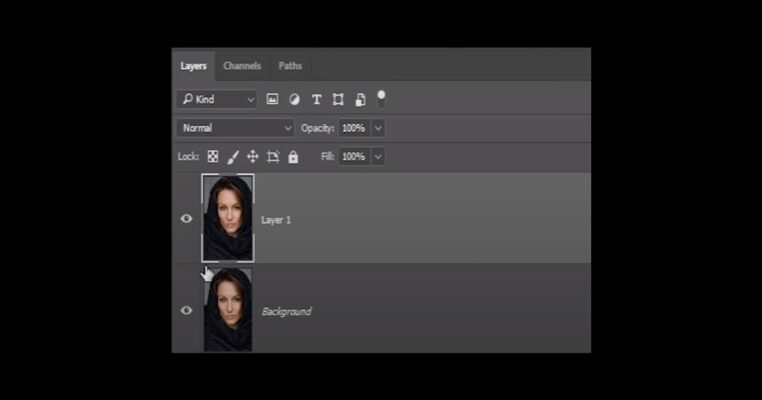
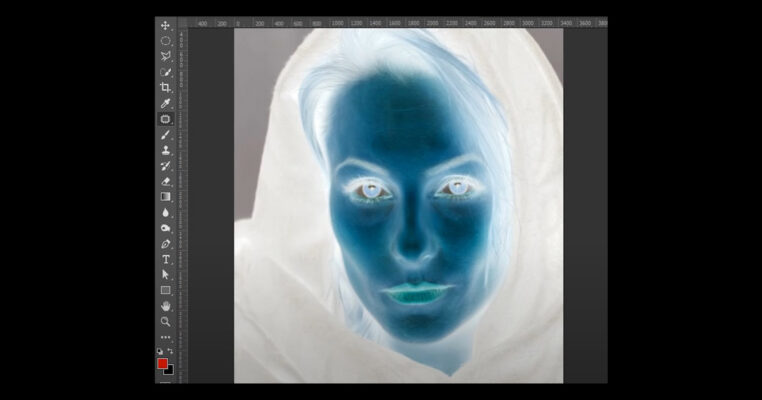
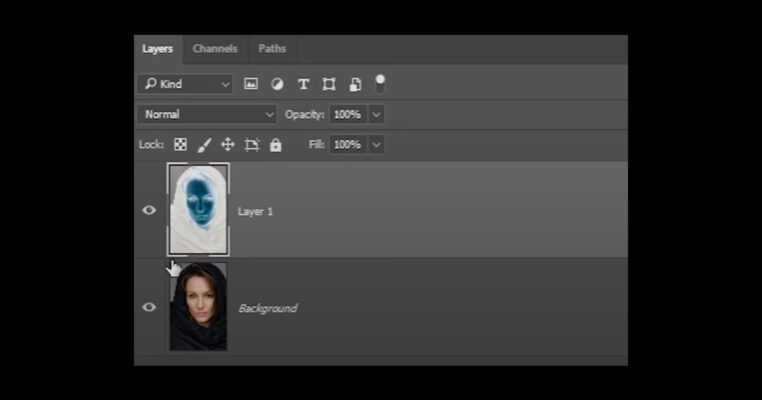
Step 1: The first thing that you need to do make a duplicate background layer. To do that CTRL+j if you usinf=g mac and invert it CTRL+I if you are done. Now maybe It seems horror but wait to get better
 Step 2:
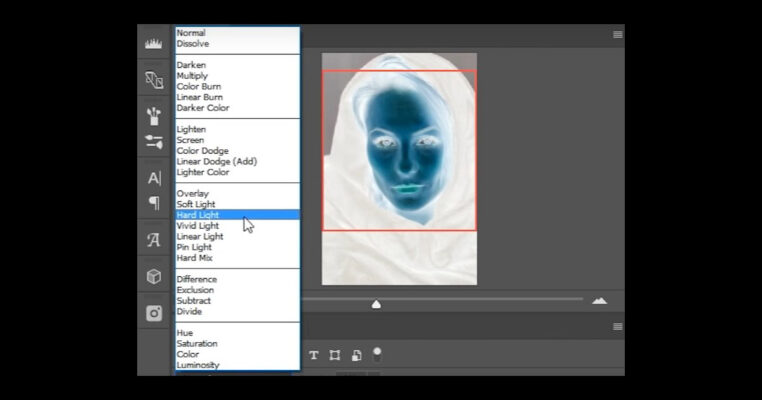
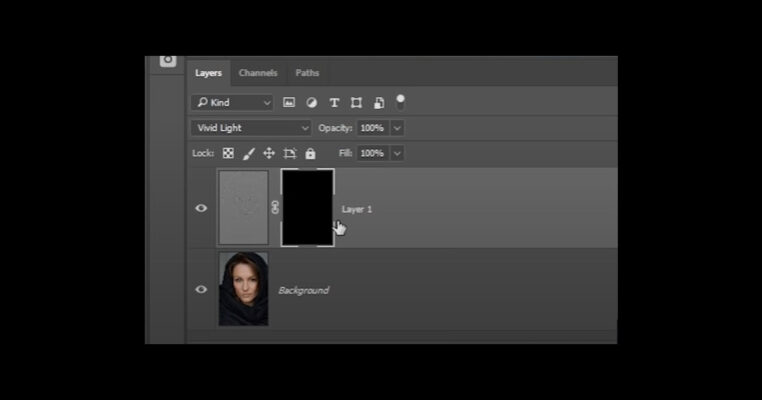
 Change the blend mode from normal to vivid light now. Which may look more worse now
 Step 3:
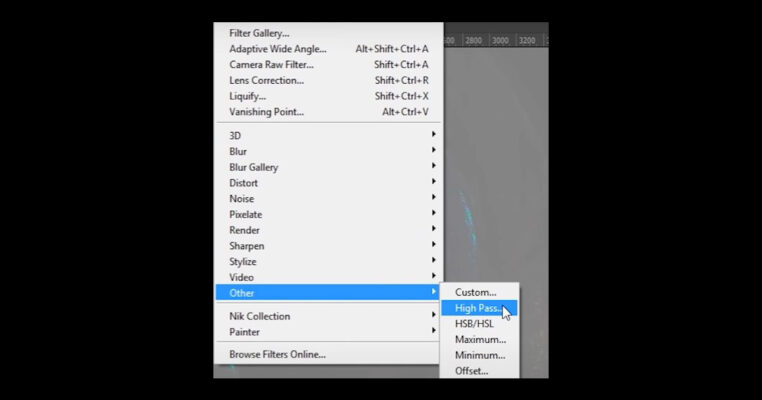
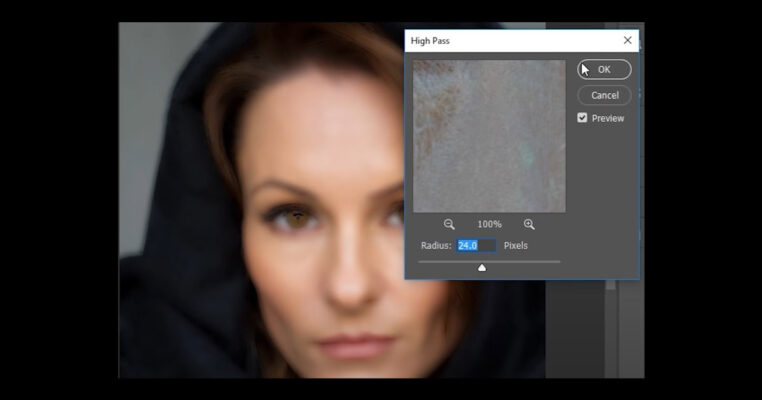
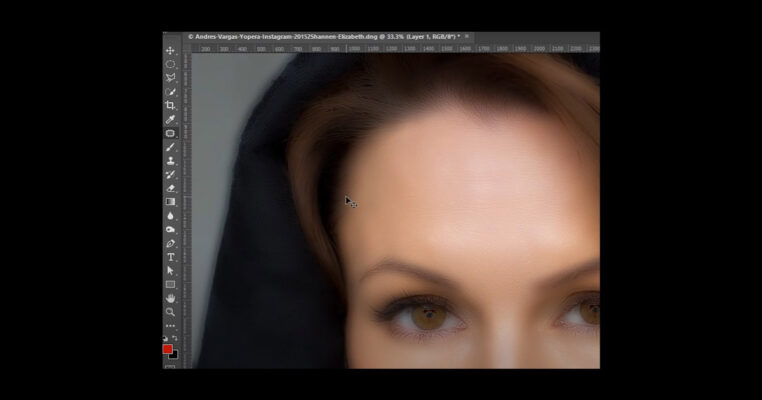
 Go to filter > other > High pass. Set the value to 24 pixels; click ok now
 Step 4:
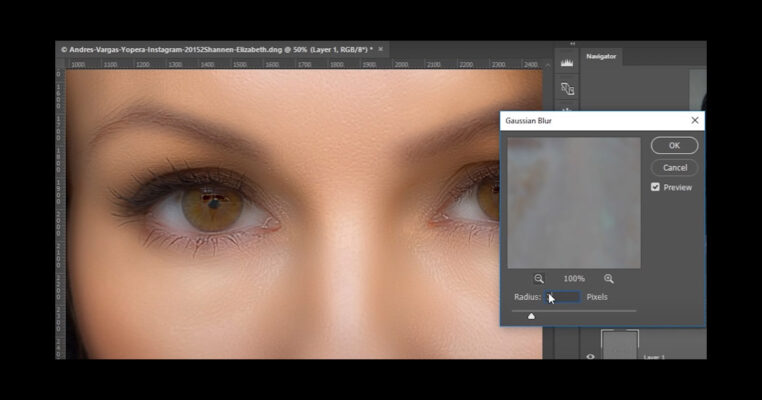
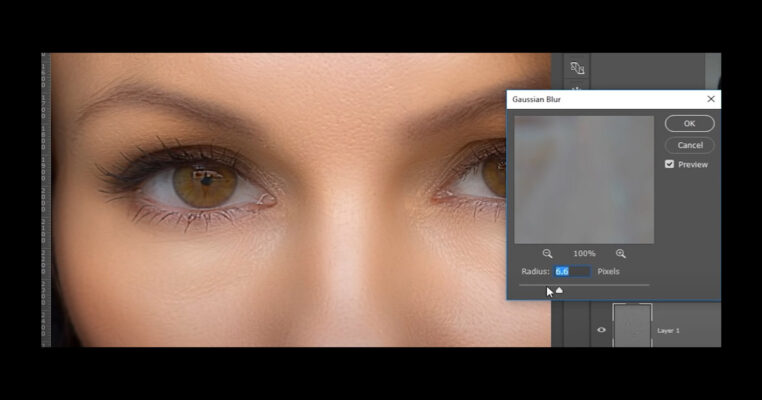
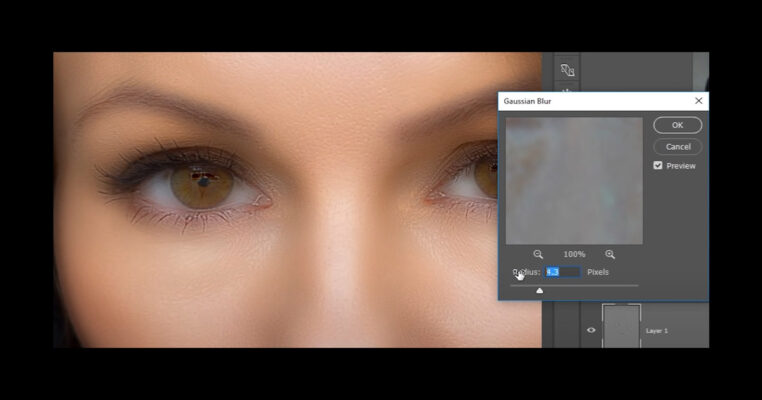
 Go to filter > Blur> Gaussian blur which gonna create a magic. Keep the value around such a number which accentuates the pores in the skin and the skin texture as general so too much of it will not bring good and introduces lot of wrinkles; we don’t need too much of it. I think in this case 4 will work just fine.
 Step 5:
 Now skin is prepared; smooth to look; but the problem is skin smoothing being applied to all over the image.
 Step 6:
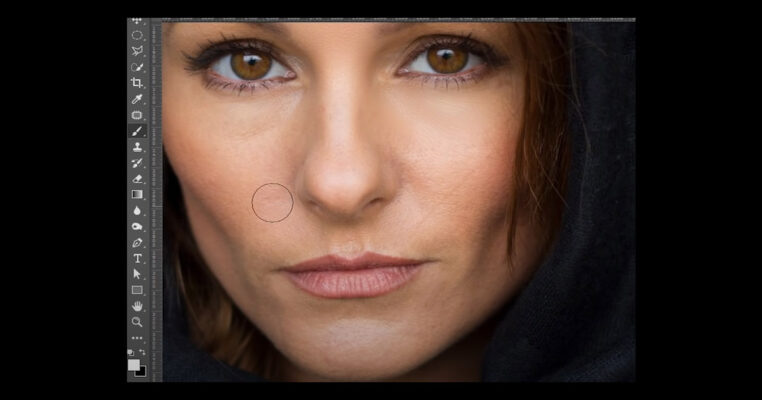
 Now to do is press and hold alt or option and create a mark click on this one creates negative mask for. Now select the brush > make sure foreground color is white if its not press D and just start painting over it
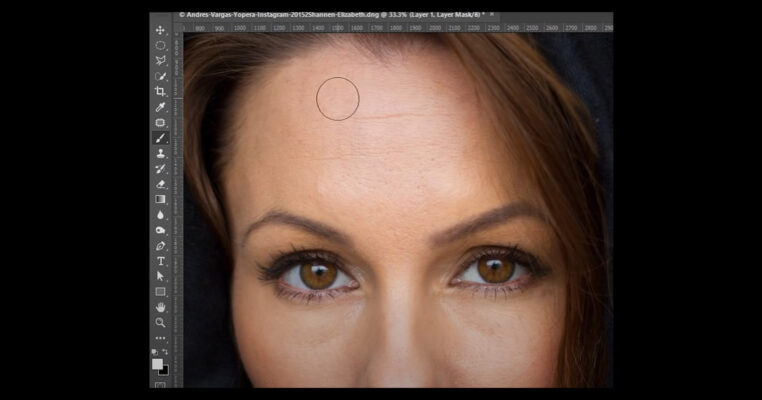 Step 7:
 To make the work a little faster there you go painting over the skin, remember don’t paint over the area that are supposed to be sharp like the eyes and nostrils
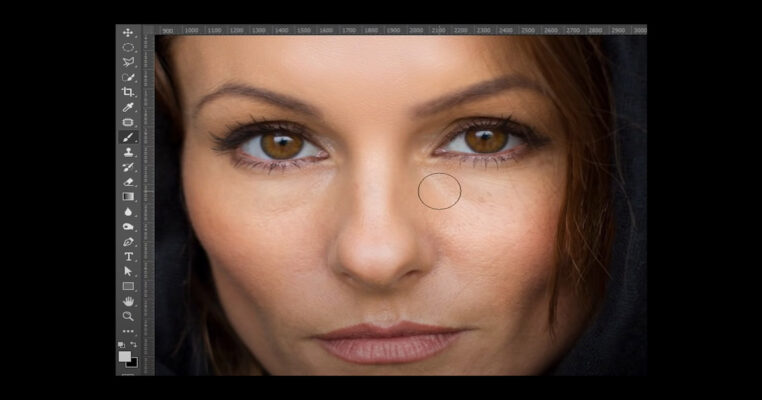
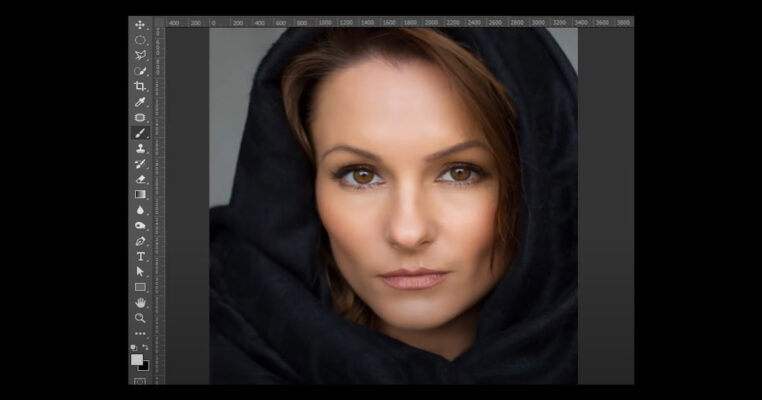
 Step 8:
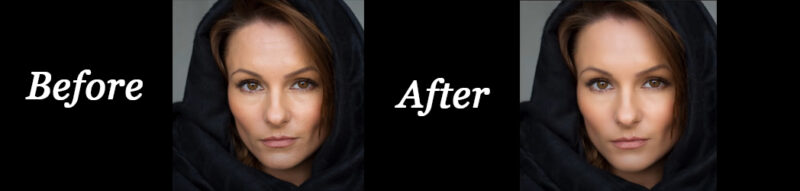
 You can see lots of differences in the final image Last thoughts
Skin smoothing in Photoshop can be a valuable tool for enhancing the appearance of skin in digital images. It allows users to reduce the visibility of blemishes, wrinkles, and other imperfections, resulting in a smoother and more even skin tone.
When used appropriately and with moderation, skin smoothing techniques in Photoshop can help achieve a polished and professional look. It can be instrumental in portrait photography, beauty and fashion photography, and various other forms of digital image manipulation.
However, it is essential to exercise caution and maintain a balance when applying skin smoothing. Overuse or excessive application of the technique can lead to an unnatural and plastic-like appearance, diminishing the authenticity and realism of the image. It is crucial to preserve the natural texture and details of the skin to avoid creating an artificial or airbrushed effect.
Remember that Photoshop is a powerful tool, but it is essential to approach skin smoothing with an artistic eye and sensitivity to maintain the integrity of the subject and the overall image. With proper technique and an understanding of the desired outcome, skin smoothing can help enhance portraits while preserving the individual’s natural beauty.