Introduction
There are many ways to wrap and distort the text in photoshop without rasterizing the text layer to confirm the highest possible quality. Wrap and distorting text is flawless for movie posters, album covers, and creative projects. That’s the point you need to know how to distort the text in photoshop.

Learning how to customize distorted text effects using multiple instances of the wrap feature in Photoshop is essential.
So, we’re in Adobe Photoshop here to discuss designing criteria. And what we’re going to learn in this tutorial is taking a look at how to distort the text in Photoshop. So, this includes but it’s not just limited to text objects and any kind of layer that you import. We’ll also learn how to make intelligent objects to improve our workflow and ensure we can always return on our changes.
how to distort the text in photoshop Great. So, I have Adobe Photoshop open, and all we have is a simple background that I’ve created. And we’re going to make a simple object that we can learn how to warp text into different shapes. So, what we’re going to be using is a text object for this example. But you can use any image that you have. Let’s go for the tutorial about how to distort the text in photoshop
Step 1
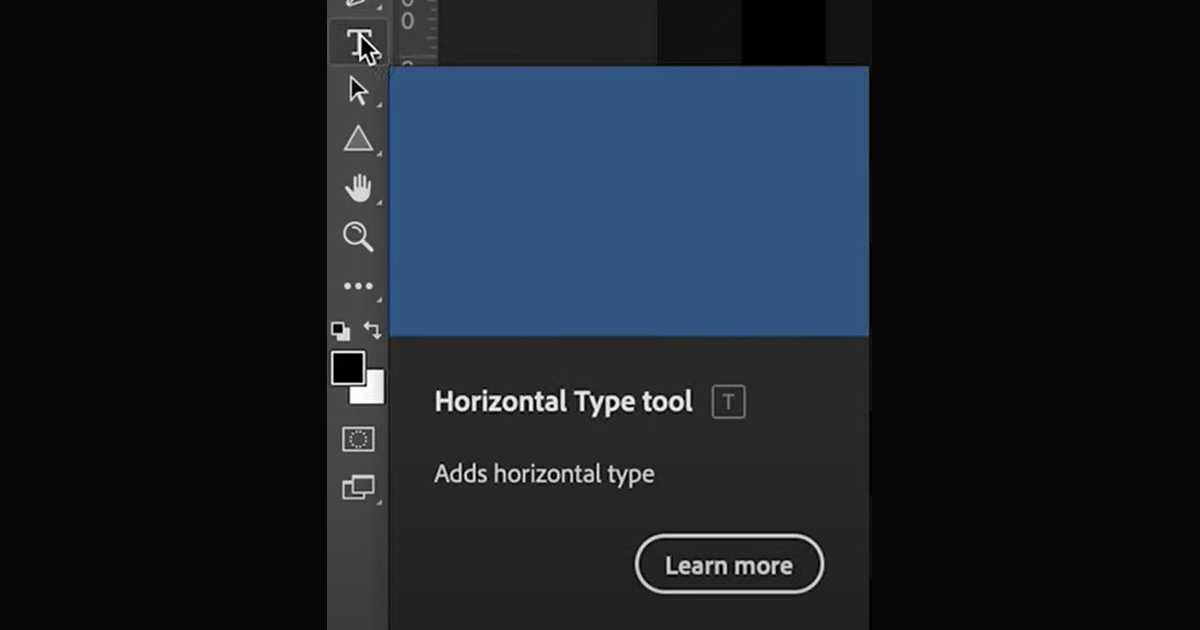
So, to create a text object, we’re going to go to the Text Tool, which is just below the Pen tool on the left-hand toolbar. As you can see, the shortcut to it is T
Step 2
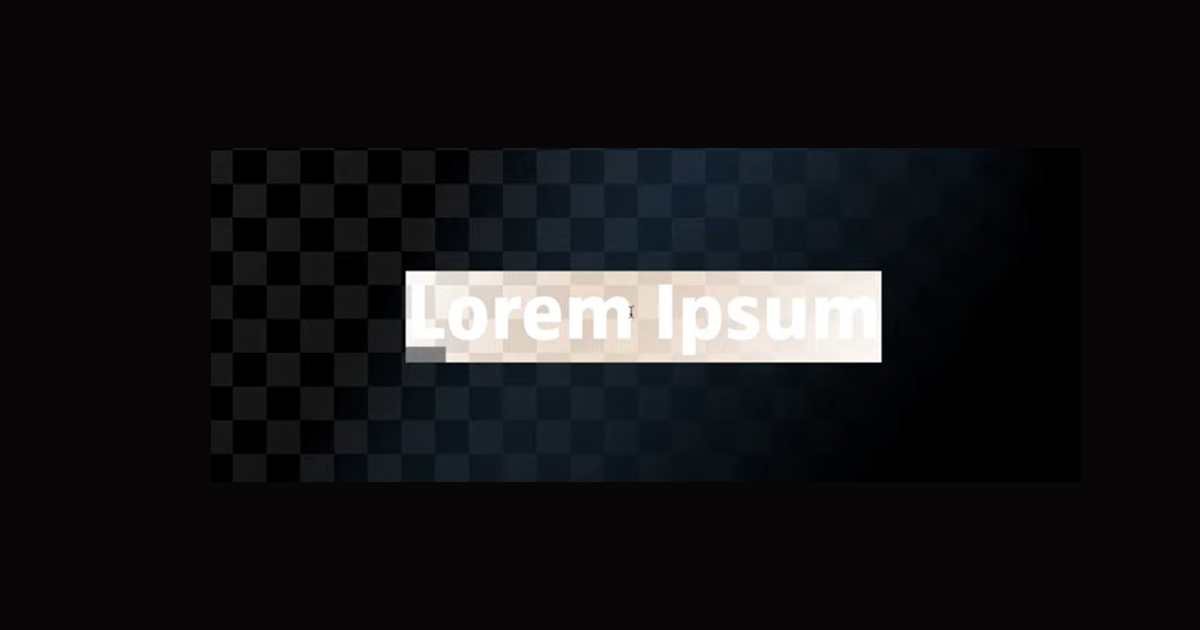
Press once anywhere on your image and then type in any text you want. I will be typing in Warp because it is, after all, the tutorial’s name.

Step 3
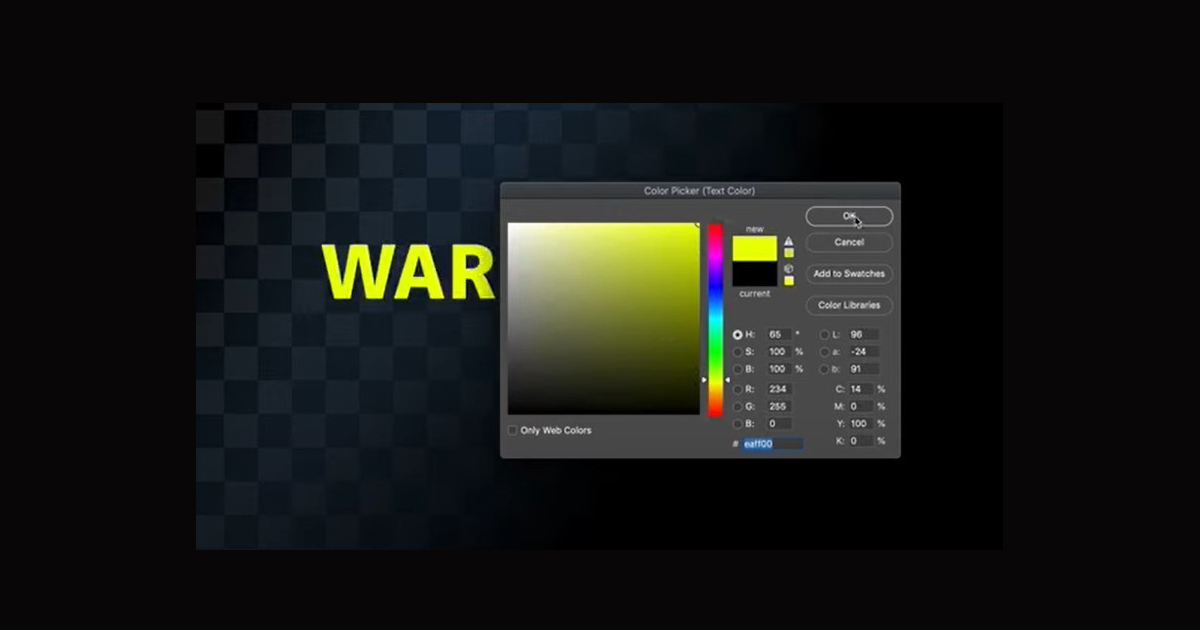
I’m going to select all the text. And because it’s black, I’m going to quickly change the color by going to the top.
And let’s go for yellow. We haven’t done yellow. And press okay. And then press the tick here. To confirm our choices.
Step 4
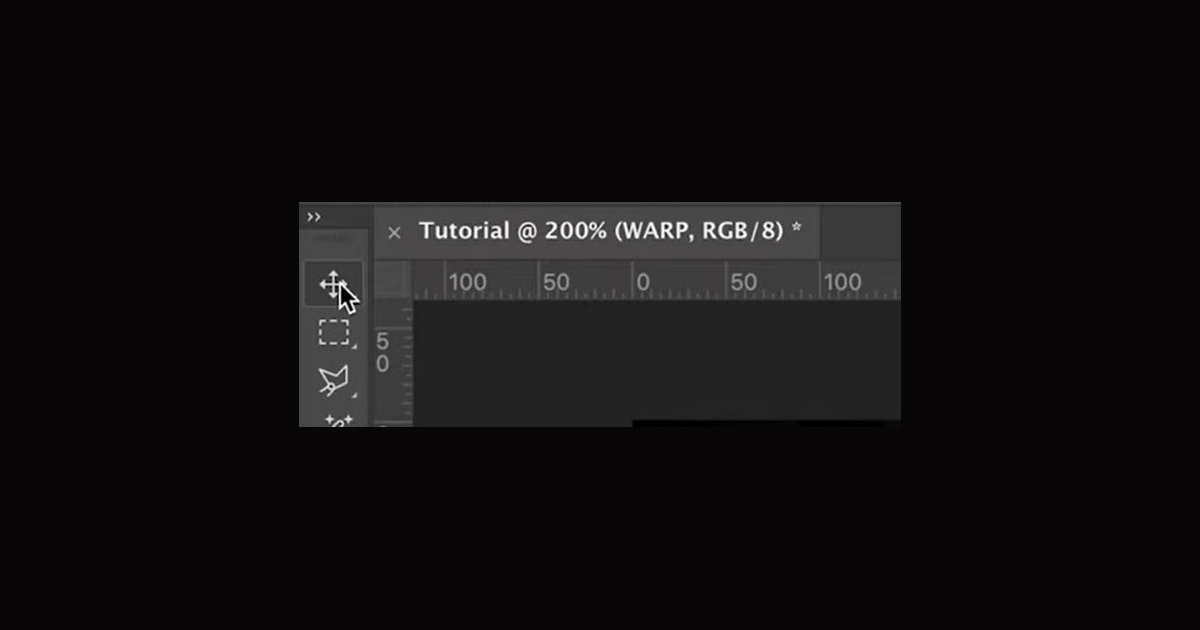
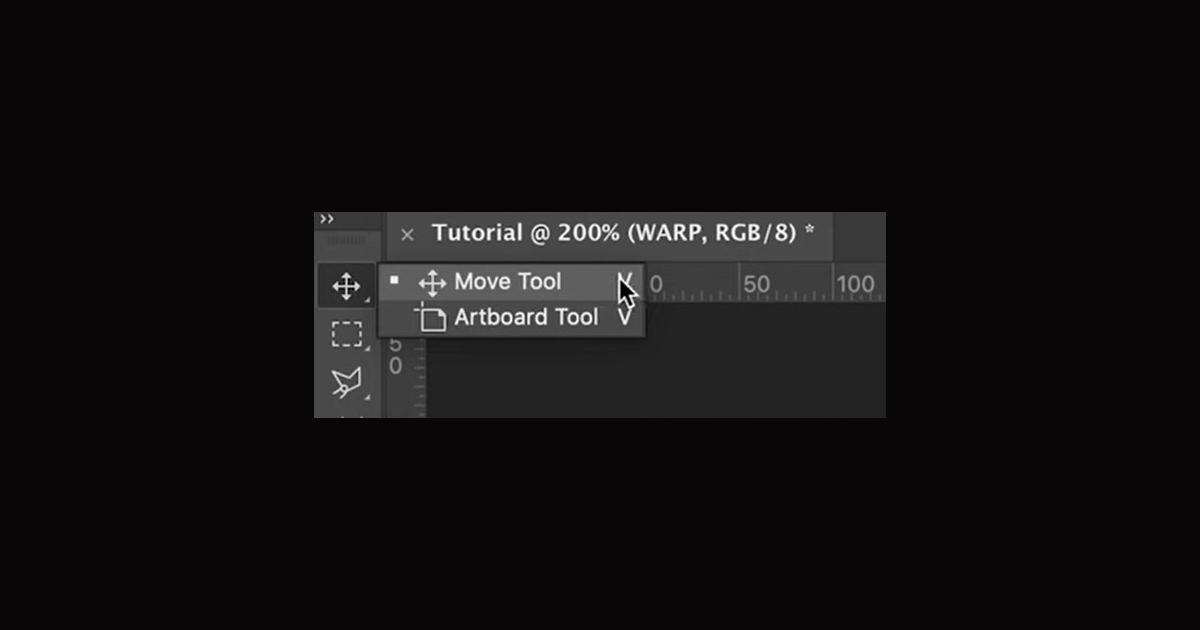
I’m going to quickly go to the Move Tool, the first tool on the left-hand toolbar. And the shortcut to it is V, as you can see on the right-hand side.
Step 5
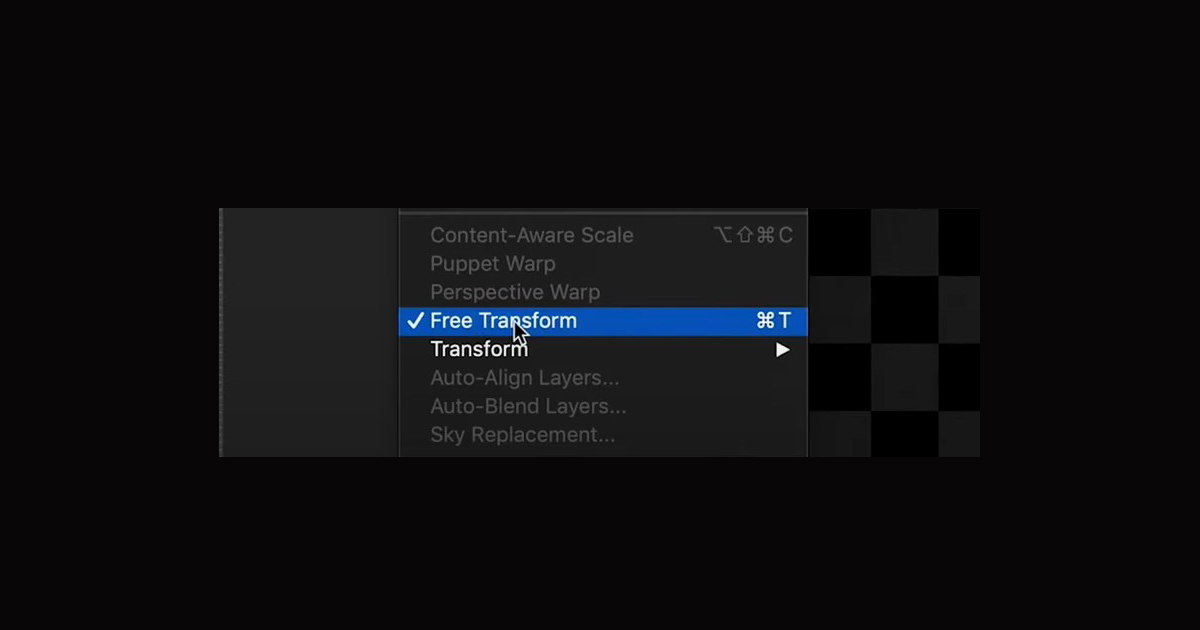
And I’m just going to select the text and press Command and T on my keyboard to bring it into Free Transform. You can also do that by going to edit and just selecting Free Transform here. That shortcut, by the way, is Control and T if you’re on Windows.

Step 6
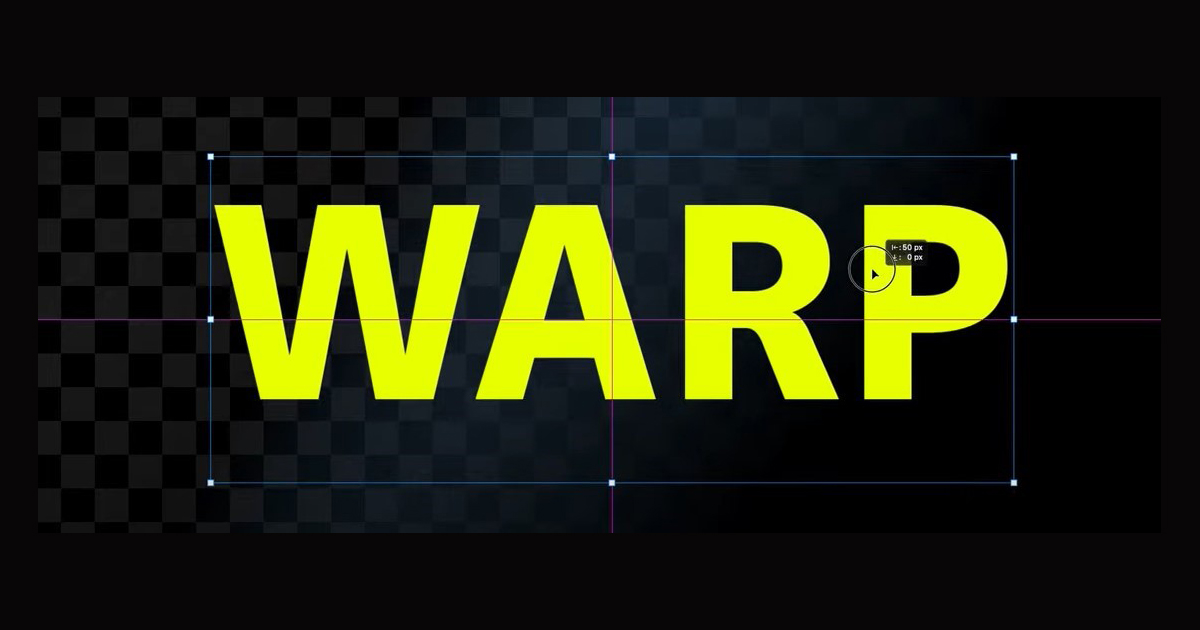
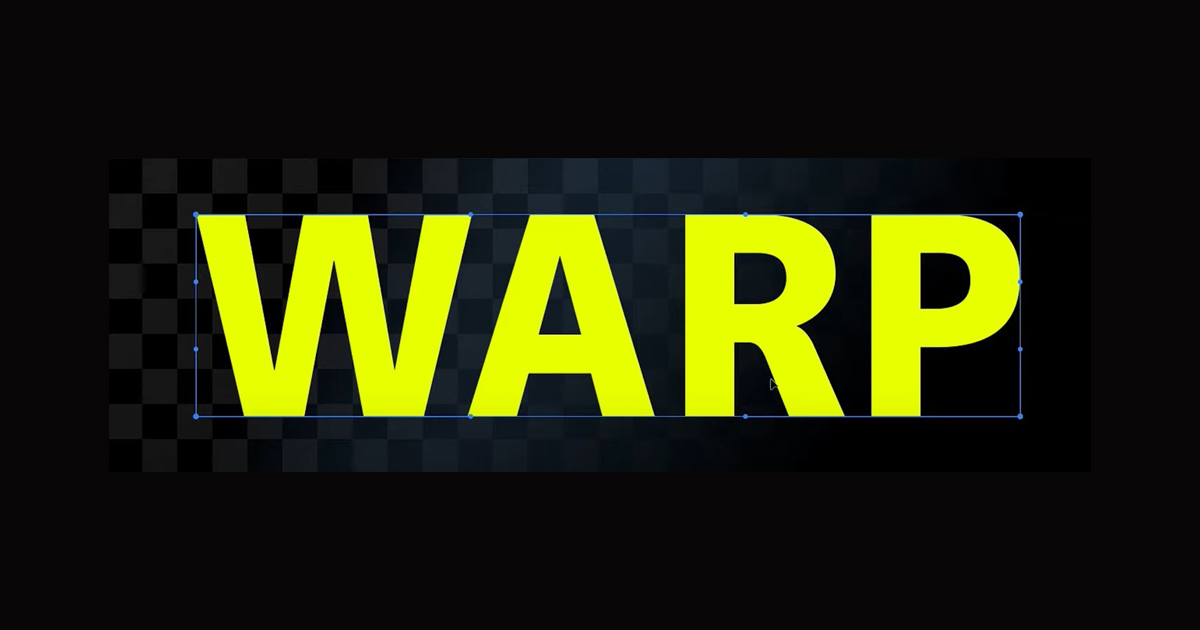
And I’m just going to quickly scale this Warp slightly larger just so we can see it a bit more clearly, maybe something like that. And then, as you can see, it’s convenient. It gives us these purple guides so I can automatically snap them to the center of our image. And once I’m happy with that, I will press on this tick at the top. So, we have a simple text object that we’ve created.
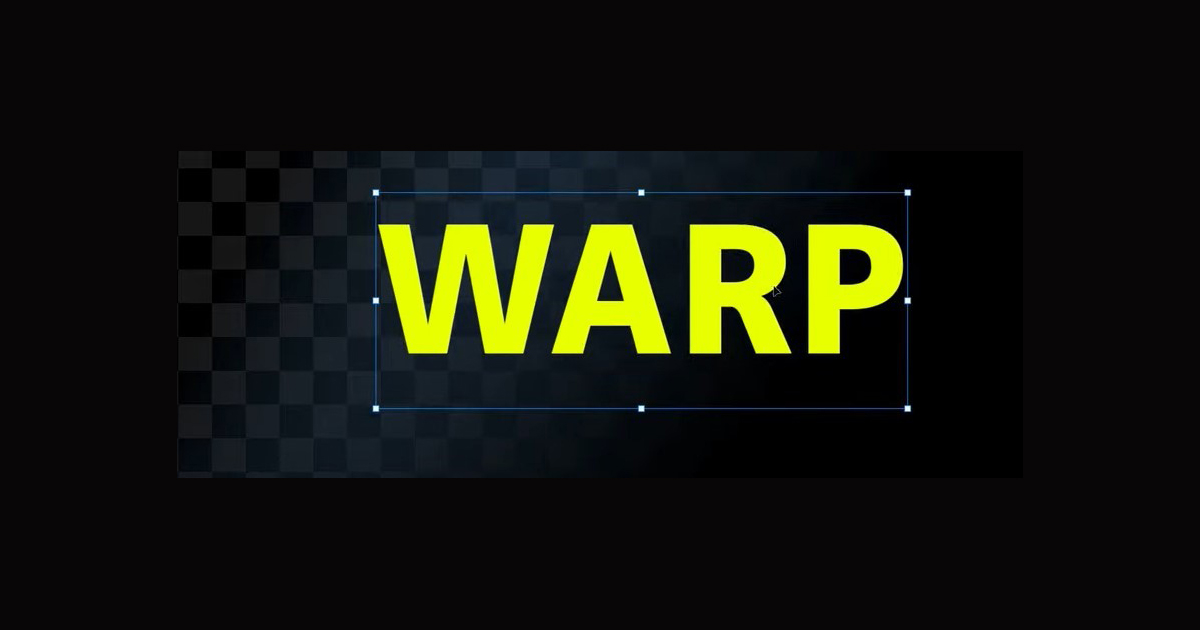
Perhaps you have created a shape or any other kind of image. Maybe you’ve imported a picture. This will work for all of the photos you use in Photoshop if you can study how to distort the text in photoshop. Now we’ve created this text object, but one of the issues we’re going to be facing is we can’t warp a text object if I go to the Warp control.
Step 7
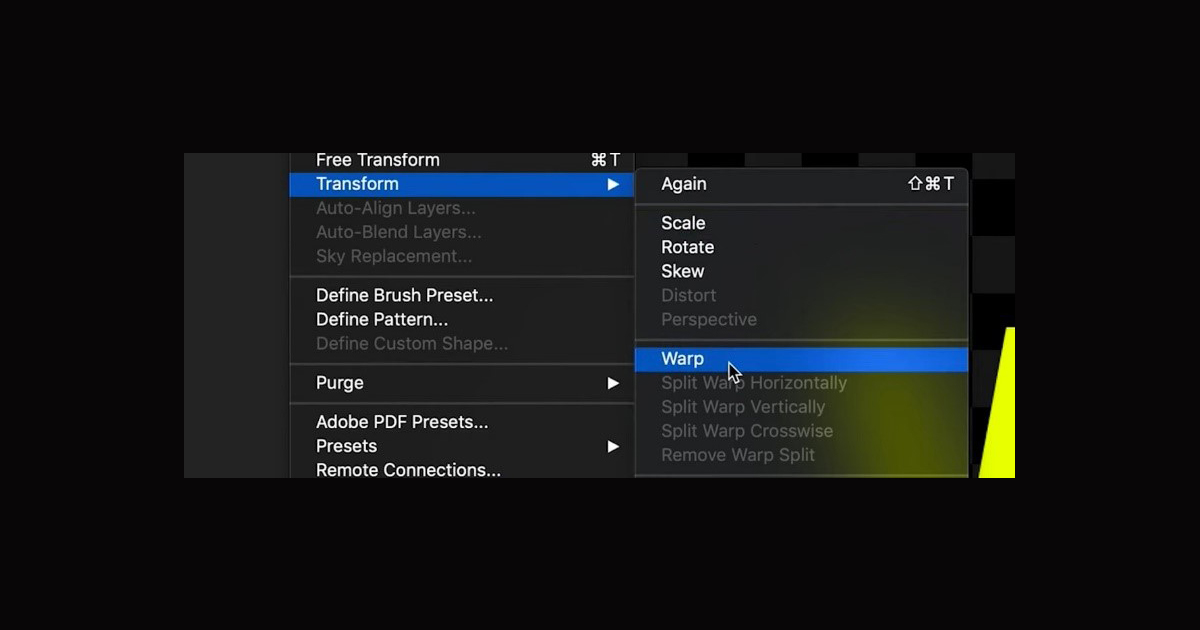
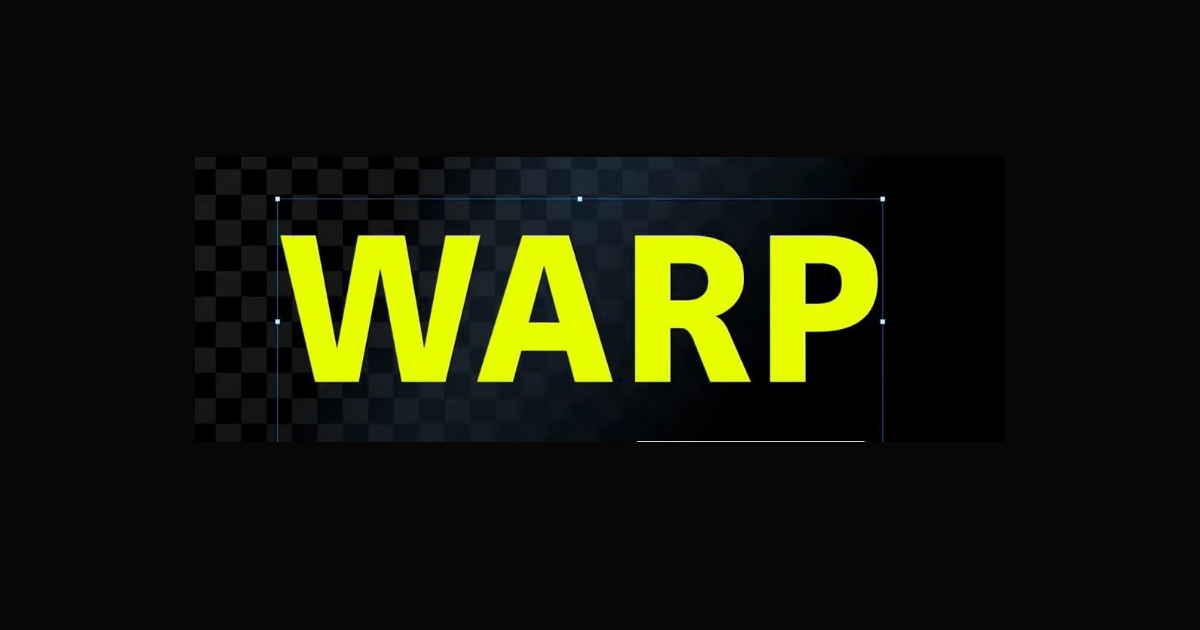
So, you can do that by editing Transform and then going to Warp. As you can see, we get this free transform box where we can’t change anything. And this is because it’s a text object and free Transform works with rasterized layers. So, I’m going to quickly undo that by pressing this little stop icon here. Now, to rasterize this layer, this means pixelating the layer.

Step 8
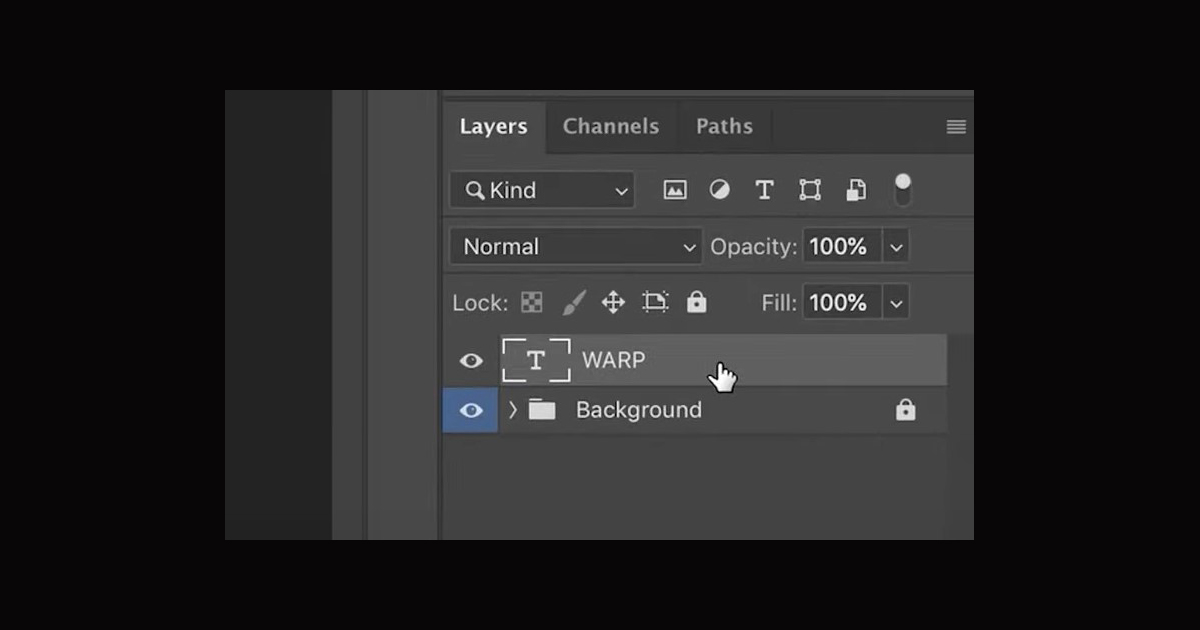
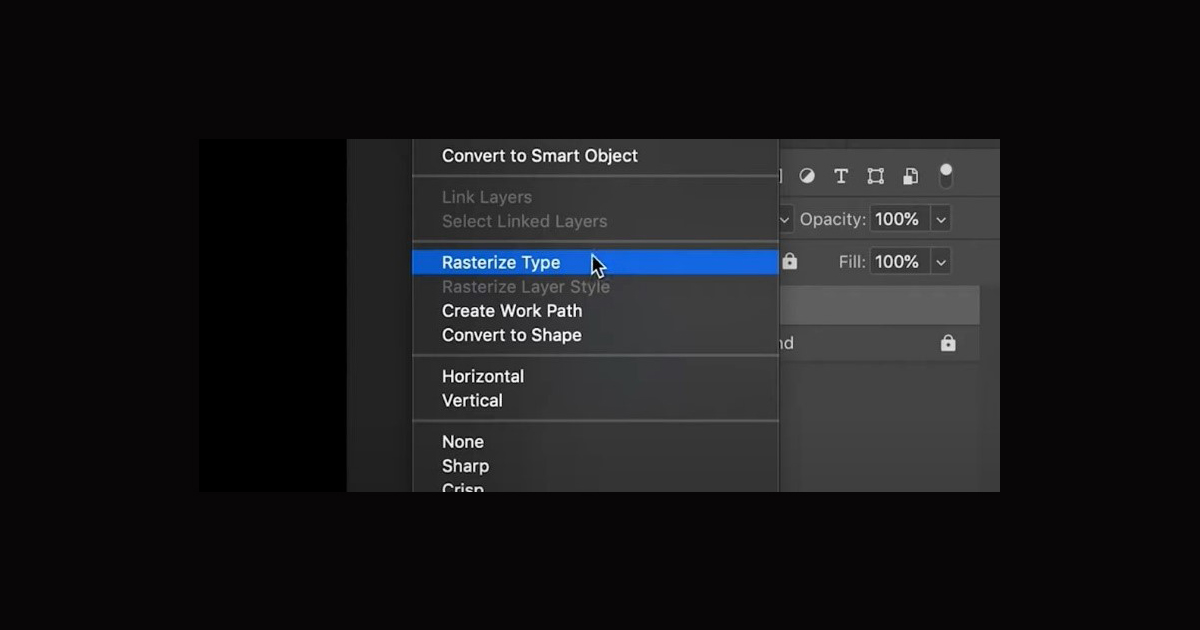
At the moment, we have a text object that isn’t a fully rasterized layer because we can actually go ahead and change any text at will. So, what we might typically do is we might go to the layer in the Layers panel, right-click, and then go to rasterize Type, which would then change this to a pixelated layer, which you can’t then go ahead and edit any further.
Step 9
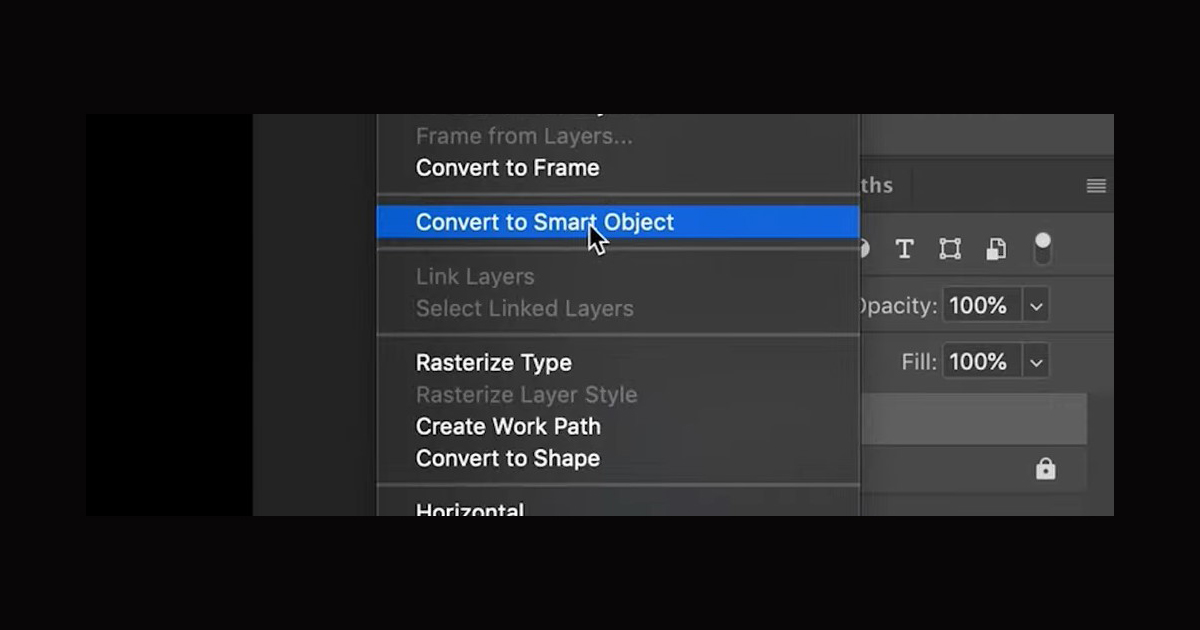
We have to store this layer within another object. At the moment, it’s a text object, but you could have a layer of any sort. So, to create a bright object, go and find the layer in the Layers panel, right-click on your mouse and go to convert to Smart Object.
Step 10
And as you can see, this has now changed the thumbnail, and we can no longer double-click on the layer to change the text. But what we’ve done is we’ve stored this information within a new object. And this object we can open up later and go ahead and change the original content. So, to demonstrate this, for example, as you can see, if I go to the Text tool to which shortcut was T, which we learned earlier, if I press here, as you can see, it creates a new object.

Step 11
So, to open that up, all I have to do is go to the object in the Layers panel and double-click with my left mouse button on the thumbnail itself. Now, this will open an entirely new tab in Photoshop, which is dedicated to that intelligent object’s content. And if I go ahead and select the text, you can see that I can now go ahead and change any of it. So, this is great. So, this is just a very, very handy way to ensure that you can edit your text later within this intelligent object.
Step 12
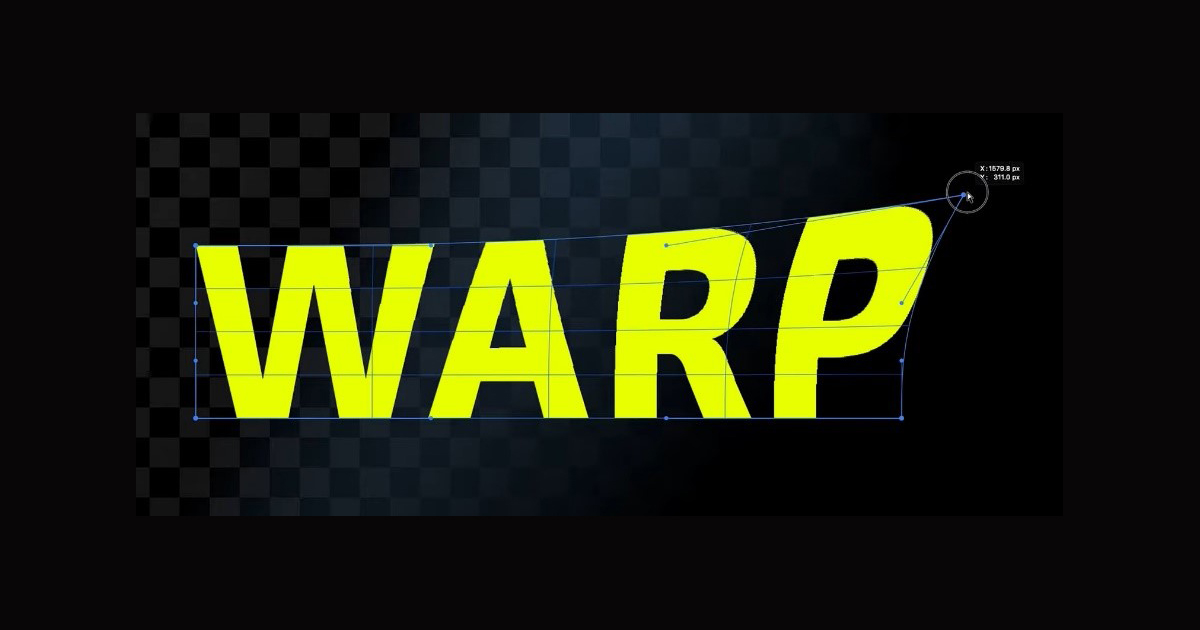
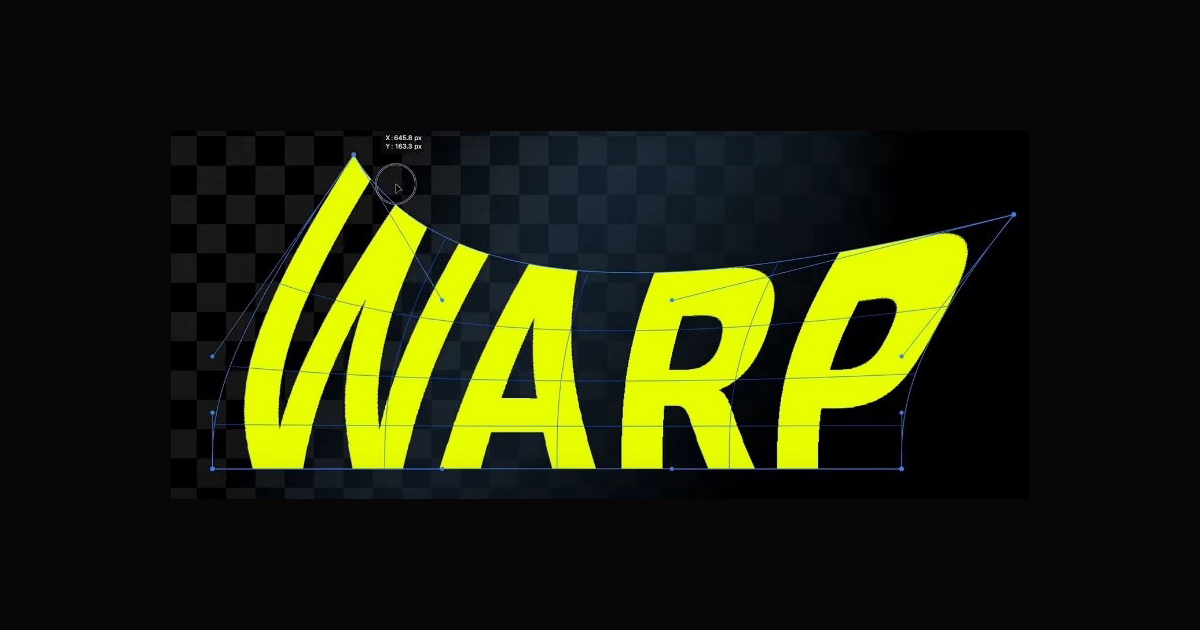
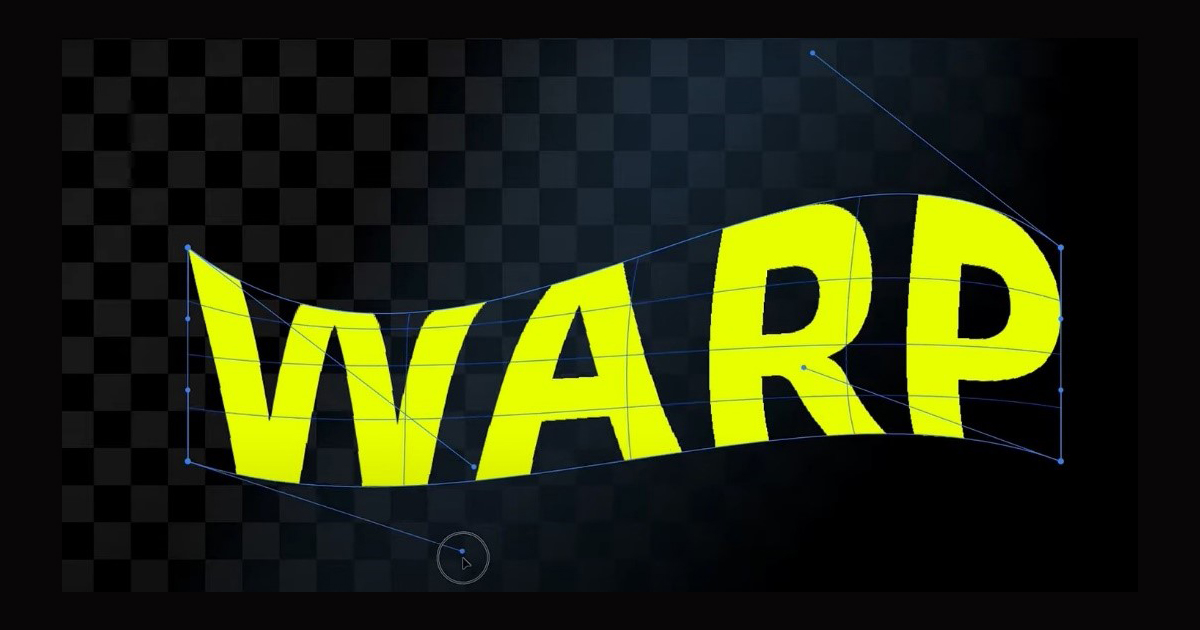
To control just this top right-hand corner of content in this layer, I can use this corner and drag it. And as you can see, I can warp out this section. I can do the same in any of the other corners. So, all the additional information that isn’t affected close to this corner will remain in its original position, but everything will warp out in this direction.
Step 13
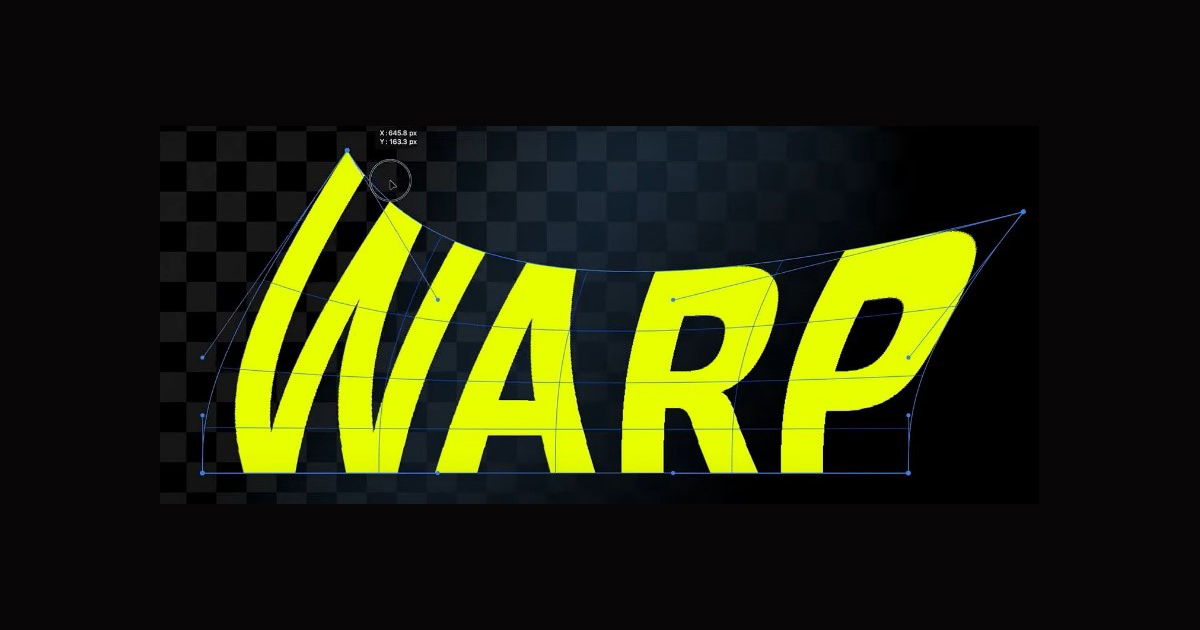
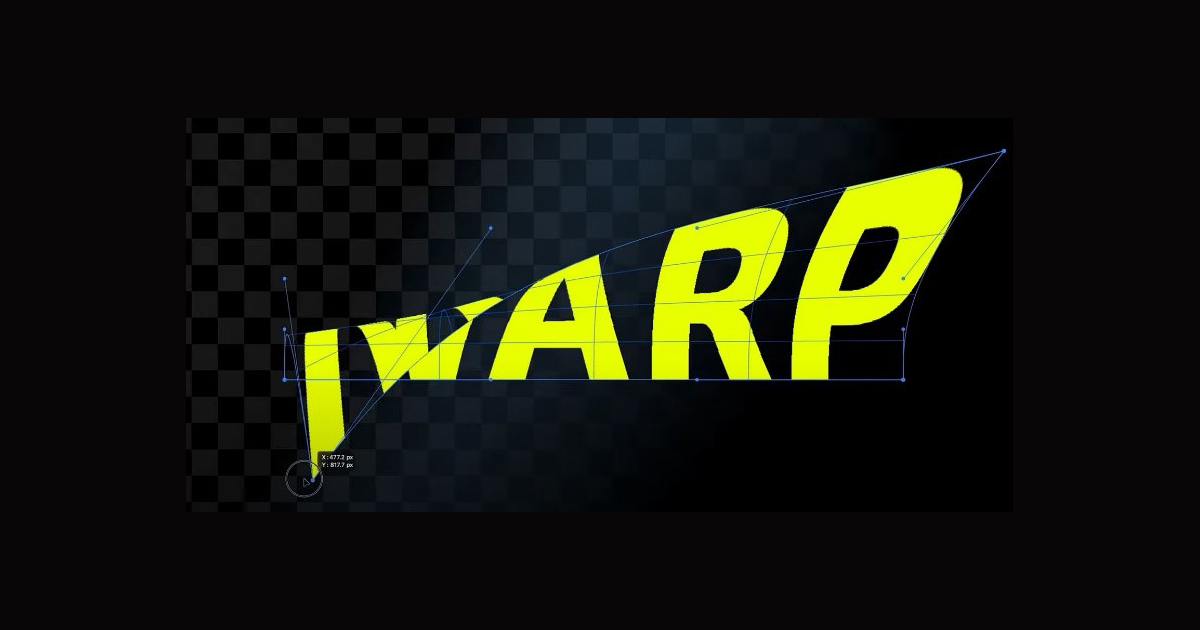
As you can see, you can kind of control the corners of your layer into any shape you want. I can move it in any direction that I want. I can even flip it over if that’s what I’m looking for.
Step 14
And I can also do it at the bottom. So, I could drag this up slightly or maybe move this one down. This kind of flag or wave look going through our content. Once again, I’m just going to undo that quickly.
Step 15
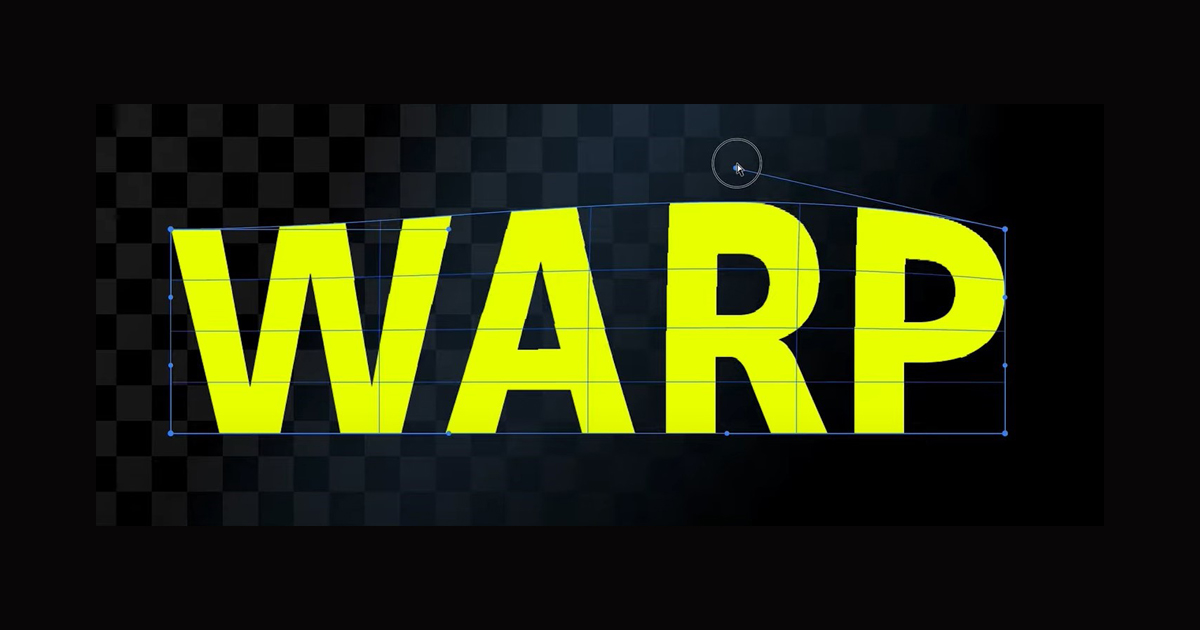
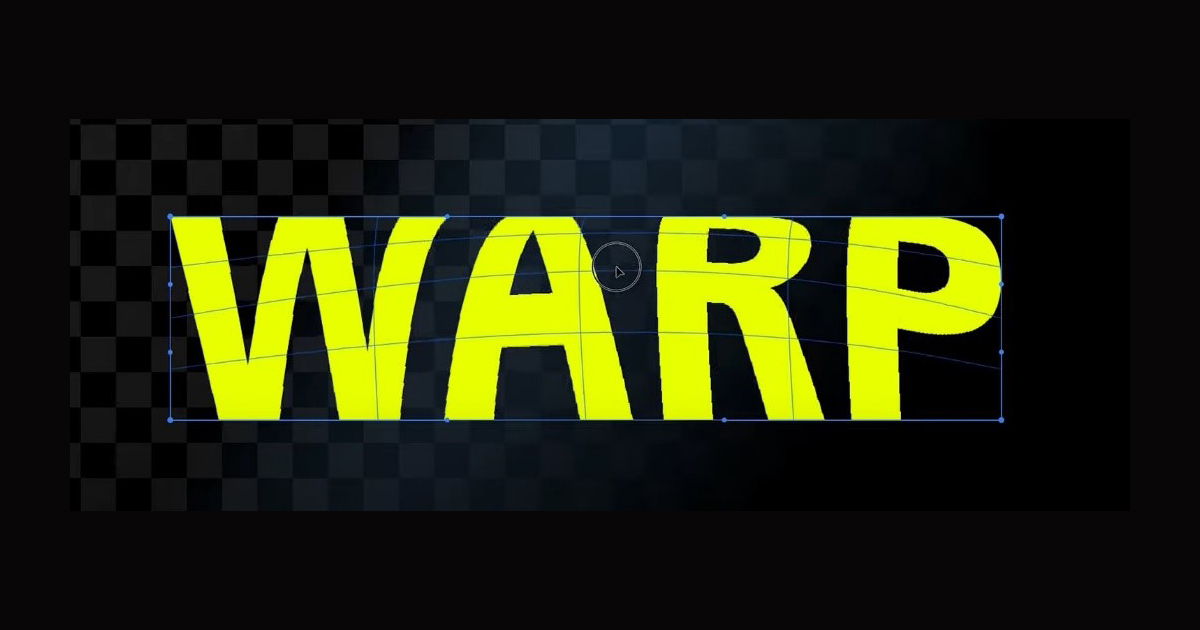
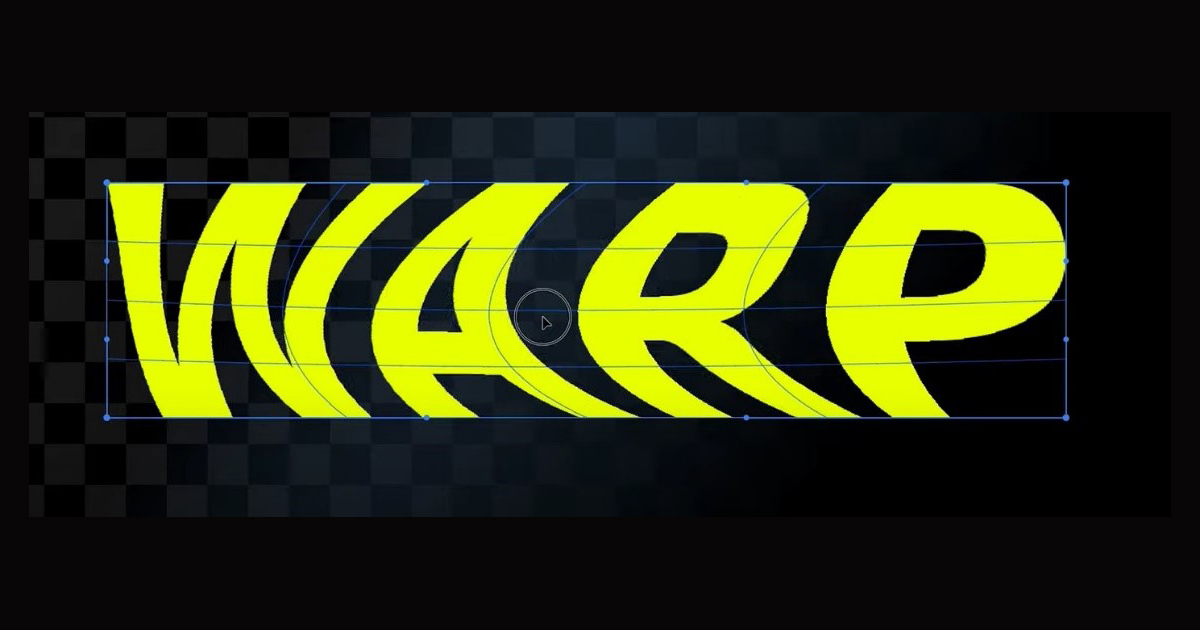
Lastly, we can also manipulate any points on the layer itself, so you don’t have to stick to these points on the outside. You can select and drag any part of the layer. So, for example, let’s say I wanted to manipulate it from the center of this layer to about here if I hold and drag my left mouse key. As you can see, I can reposition the content within the center of our layer.
Step 16
Now, as you can see, the more drastic we go, it extends over the outline’s edge. So, you can create some bizarre-looking effects just by doing this. So, I’m just going to undo that once more.
Step 17
And then all you have to do, if you’re happy with your choice, is just go to the top where we have this tick and the stop sign just the same, like when we had the text tool. And then, we can just press the tick to confirm our choices. Now, one or two things to remember when we are warping content in Photoshop. First, if I just zoom in by pressing Command on my keyboard or CTRL plus for Windows, and then by selecting the hand tool for which the shortcut is H before Windows and Mac, I can quickly move it and reposition it.

Step 18
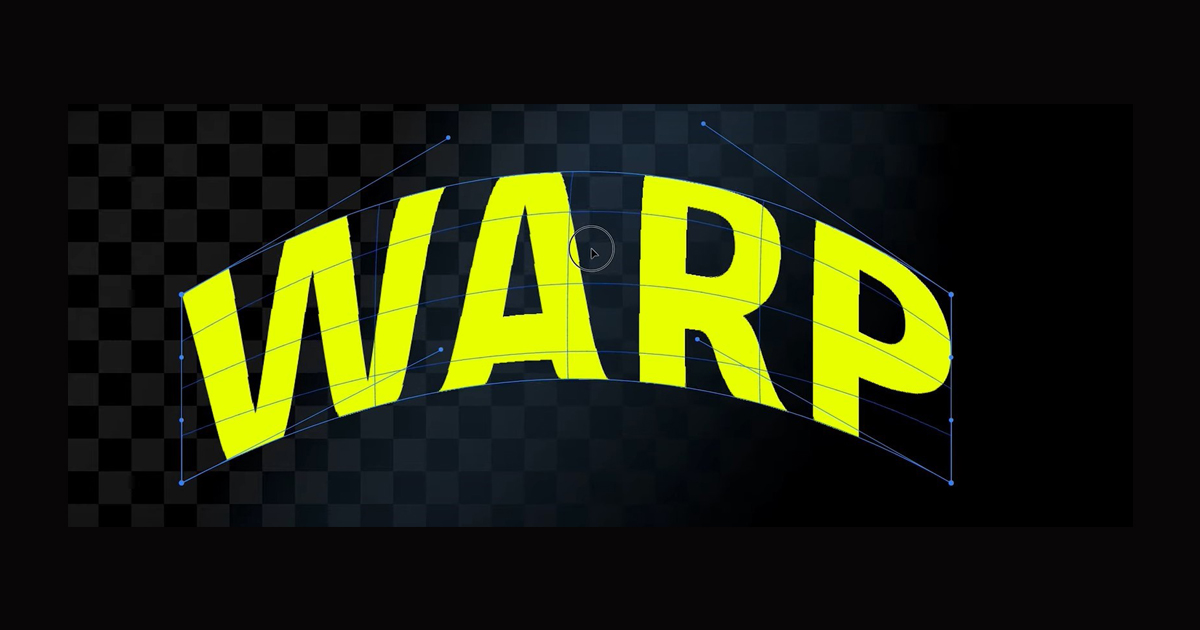
For example, if I just quickly zoom out again by pressing CMD and Minus or CTRL and Minus for Windows, let’s say we make a very drastic change. Let’s go to edit, transform and warp once more.

Conclusion
Well-executed typography or text font can motivate people to continue reading. There’s a balance with a design that desires to be respected. So many fonts, colors, shapes, and creativity can show excellent and engaging content to keep a reader attentive. If this balance is neglected, you can lose your target readers. It’s more vital to ask yourself ‘how you can give access to readers to make them stay on your Blog. “
The answer is in today’s article! Now we can wrap and distort the text in Photoshop to use engaging fonts and locations with your headlines. You can now follow the steps of my tutorial and demonstrate how to distort the text in photoshop. Let’s try!

